• Subscribe to Blog via Email

    Enter your email address to subscribe to this blog and receive notifications of new posts by email.

Day Four – Snack Packs & Bridge Fest

Snack Packs (& Bridge Fest)

Day Four – 30 Days of SWAK

Earlier this month (on the 6th), we were given the opportunity to have a booth at the Duluth Bridge Fest. We got to be in the kids tent between a traveling origamist and the Lake Superior Zoo – there was face painting, hula hooping, and a goat!

IMAG0092 IMAG0093  IMAG0095 IMAG0097    IMAG0104


We even got on the news!

http://www.fox21online.com/news/video/3rd-annual-bridge-festival-fun-all-ages


All day events can get you hungry, so I thought I’d post pics of our snack pack idea as the active part of today’s post:

IMAG0212 IMAG0211


The sandwich baggies are half sized – otherwise, it’s just what it looks like!

I got the idea from this pinterest pic – http://pinterest.com/pin/10977592812738604/. I’m not sure where the original picture is.


Keep calm and sit with a kid – see you soon!


Day Three – Trifold Activity

Trifold Activity

Day Three – 30 Days of SWAK

The grandkids spent last week up at Grandma and Grandpa’s for their annual summer kids’ camp. They had a lot of fun and took some great pictures of a few activities they did. One set was of a game I LOVED to play when I was young….the drawing-random-bodyparts-that-become-monsters game! (as awesome a name as that is, trifold game is easier to say 😉 for 2+ participants)

photo (6)


Please meet Steve, Mr. T Man, and Bob!

Easy, requires a pen and paper, and fun for kids of all ages – what more could you ask for in an activity? We’re also thinking of trying this with an alien theme to get ideas for our next book 😀


Here’s the how-to:

1. everyone gets a piece of paper

IMAG0202

2. draw a head and NECK on your sheet of paper (*the neck is important)

IMAG0203

3. Fold your paper so only the neck sticks out

photo (7) IMAG0204


4. Pass your paper to the next person (we usually pass to the right to start and it gets more creative the more rounds we do)

5. Draw a body and legs on the paper you just received (don’t forget the legs and to leave room for feet!)


IMAG0205 IMAG0206

6. After you fold and leave the legs sticking out, pass it the same way you did before

7. Draw feet! (as many feet as there are legs 😉 )

IMAG0207
 
photo (11)
 
photo (10)

8. We like to return it to the person who drew the head before we unveil … drum roll please!

IMAG0208

9. After the ensuing giggles, naming the critters is an important step, you don’t want to send them out into the world without a name!

photo (8) photo (9)  photo (12)

10. …and last, but not least, head out to the relaxation station with Grandpa to cool down after all that hard work. Phew!

photo

Day Two – Felt Logos

Felt Logos (or any graphic)

Day Two – 30 Days of SWAK

I re-purposed this idea from a pinterest link for superhero templates (http://www.juxtapost.com/site/permlink/19cdb680-bb6b-11e1-ae07-094976c3de87/post/superhero_templates/). I figured we fell into this category, too – but they forgot to add our logo to the list…

No worries – I’ll take care of that for them. The final products look lovely, but the pictures lose something because the best part of felt is the texture!

IMAG0190


The process was really simple, although I did try to make it more complicated: trace, cut, glue. I tried tracing in chalk and cutting around paper shapes too, but the simple tracing onto the felt with a marker was the way to go. Make sure you trace slightly large so you don’t end up with unsightly marker lines on your finished product.


Here are a few more pics:

  • The logos I printed

S-glob   DoUlogo

  • A pic of the materials (The felt, not pictured, was 8.5×11 sheets from Michael’s)

IMAG0189

  •  I did this one first because it was an easier shape to try all my shenanigans on. 

IMAG0194

  • See the “adventures”? I tried a few other things and then used the black fabric paint from the picture with the tracing method. There was no way I was cutting out each of those letters individually and I think it ended up looking better anyway 😀 Score one for the shortcuts! 

IMAG0192


These are totally going on my cape! It’s a bird, it’s a plane….it’s my publisher?


They’ll never see it coming!


Day One – Fimo Agate Slices

Fimo Agate Slices

Day One – 30 Days of SWAK

Welcome to the first day of our Tour de SWAK. Our first craft is in honor of Agate.

agate_promo

Way to step forward, big guy!

Thanks Jenny for this great tutorial (on the polymer clay central page) – the original post is here: http://polymerclaycentral.com/faux_agate.html. I followed it very closely and recommend taking a look at what was done and then visiting the professional page 😉

The plan was to make earrings that we could wear to appearances and signings. I learned a ton along the way. Below are all the pictures of our progression, but first… our finished product!

17

What do you think? Personally, I love them 🙂 the magic is in the cutting step. Just like agates, there’s this lumpy log that you slice and… voila! A beautiful agate! It really is pretty amazing.

On to the step-by-step pics and tips:


Step 1 was to make the base colors. The original orange had a “construction zone” thing going for it, so I darkened it down with a tiny pinch of black.

A quarter of a block of translucent and a pea size ball of dark orange…TIP: If I was to do this again, I’d make it a half or quarter of this size. It ended up making a long enough log for more than 100 agate slices (actually, I made 10 and hardly put a dent in it, so I have no idea, but it’s a lot).

I just thought this pic was funny 🙂 Sunny side up!

Here I’ve finally completed step one. Ball of dark orange, ball of translucent orange, and a chunk of white. Base colors check. Into the freezer with them.

Step 2 … grate a quarter block of translucent, a dime size ball of white, and a bit of the translucent colored block. Ok. Done.

Step 4 – The freezing was a step I guess. Here’s a pic of my beautiful marbled ball fresh out of the freezer.

Step 5 is to grate it on the small size now and then freeze the resulting ball again. TIP: Make sure you freeze for a while. The clay softens as you grate.

Step 6 – Here’s the center of my agate!

Step 7 – I don’t have a pasta machine, so we kicked it old school.

Step 8 – this is where you get creative. Make layers on layers on layers. They’re a bit time consuming, but the more the merrier!

TIP: I wish I had made this first dark layer lighter (maybe mixed half dark and half translucent) so the agate would kind of graduate to the outer edge. Looks great anyway, but it’s something I would try next time.

12

The finished roll

13

This is step 11 if you’re following the tutorial. Steps 9 and 10 were all that layering.

I don’t have a good picture of step 12, but the final steps are just to rough up the outside – the tutorial suggested a brillo pad (TIP: Make it as rough as you can so it will show up when you slice it) and to SLICE IT! Like I said above, this is where the true magic happens. Take a razor blade and hold it in both hands to steady yourself (here’s another tutorial for you if you haven’t done this before: http://polishorperish.blogspot.com/2010/03/on-slicing-fimo-canes.html) and cut off the end of the log. Then cut yourself a slice no thicker than a dime. Thin to win here, except not too thin either.

And speaking of finishing – I also added a coat of clear nail polish to the earrings for that extra shine and a hole for the hook.

Hold your slice up to the light! Oooo, ahhhhh! I picked out the center of mine with the corner of the razor blade. I felt like it gave it that finishing touch.

See you for day two – felt logos!

30 Days of SWAK

Hi again!

It’s summertime and we haven’t blogged, posted, pinned, or tweeted in a while. To get ourselves back up and running we’re planning on doing a …

 30days

…jump start. It will actually be closer to 60 days as we’ll spend one day crafting, compiling, and colluding for you and write it up as soon as we can (possibly the same day, but probably the next because it IS still summer. Who wants to write indoors when the sun is shining on the lake and friends are out barbecuing?)

We’ve got a list of crafts and collages of what we’ve done and how we got where we are today, but if you have any ideas for us, bring them on!

We’ll see you tomorrow for the beginning of our great adventure – toodles!


Just Another Monday launch at Duluth Children’s Museum

We are ever so grateful to the Duluth Children’s Museum for inviting us to launch Just Another Monday at the January 2013 First Friday  Storyland night. The museum is now located in Clyde Park in Duluth, at 115 S. 29th Ave. It’s a great place to take kids for lots of hands-on activities and special events. The night we were there, there was also a storyteller, Elizabeth Nordell. She was awesome. She really knows how to engage kids.

We had a good turnout and a great time going through DoU adventures with the kids, using our  giant Just Another Monday book. Here is a picture of Anna with the Big Book in the Big Beautiful Chair at the Duluth Children’s Museum and another of some of the kids making their own storybooks.


10 Book Crafts for Little Fingers

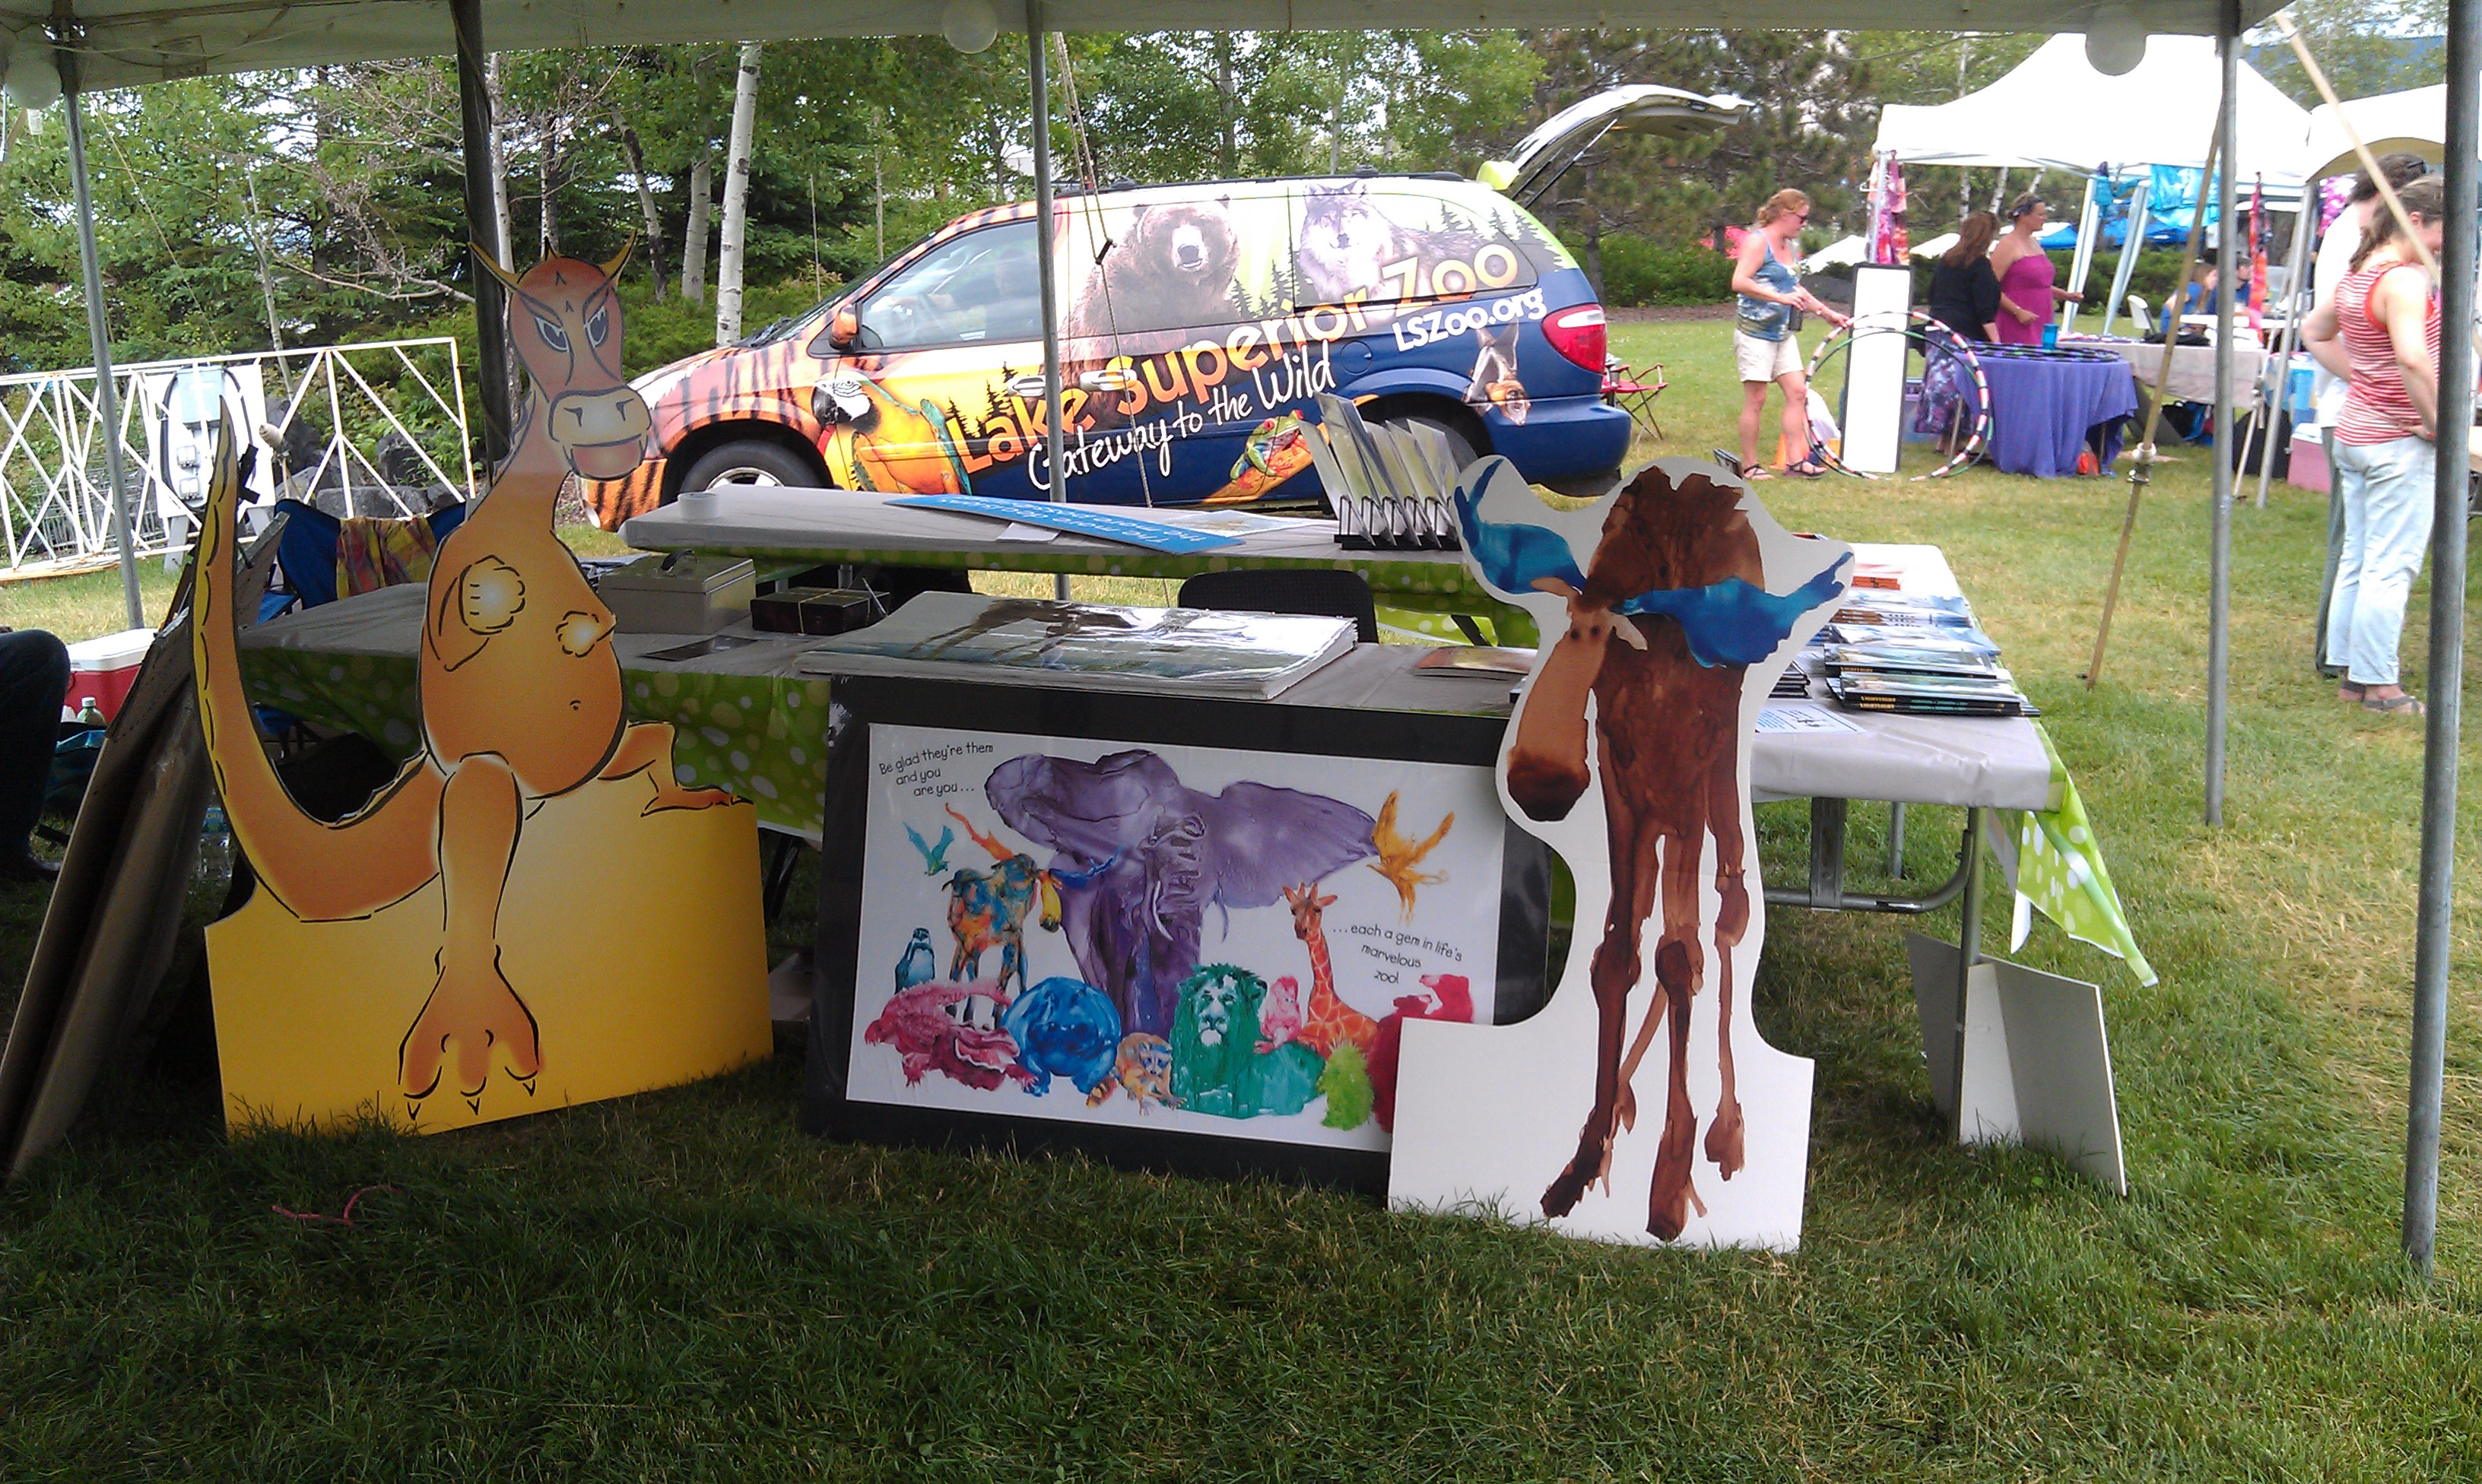
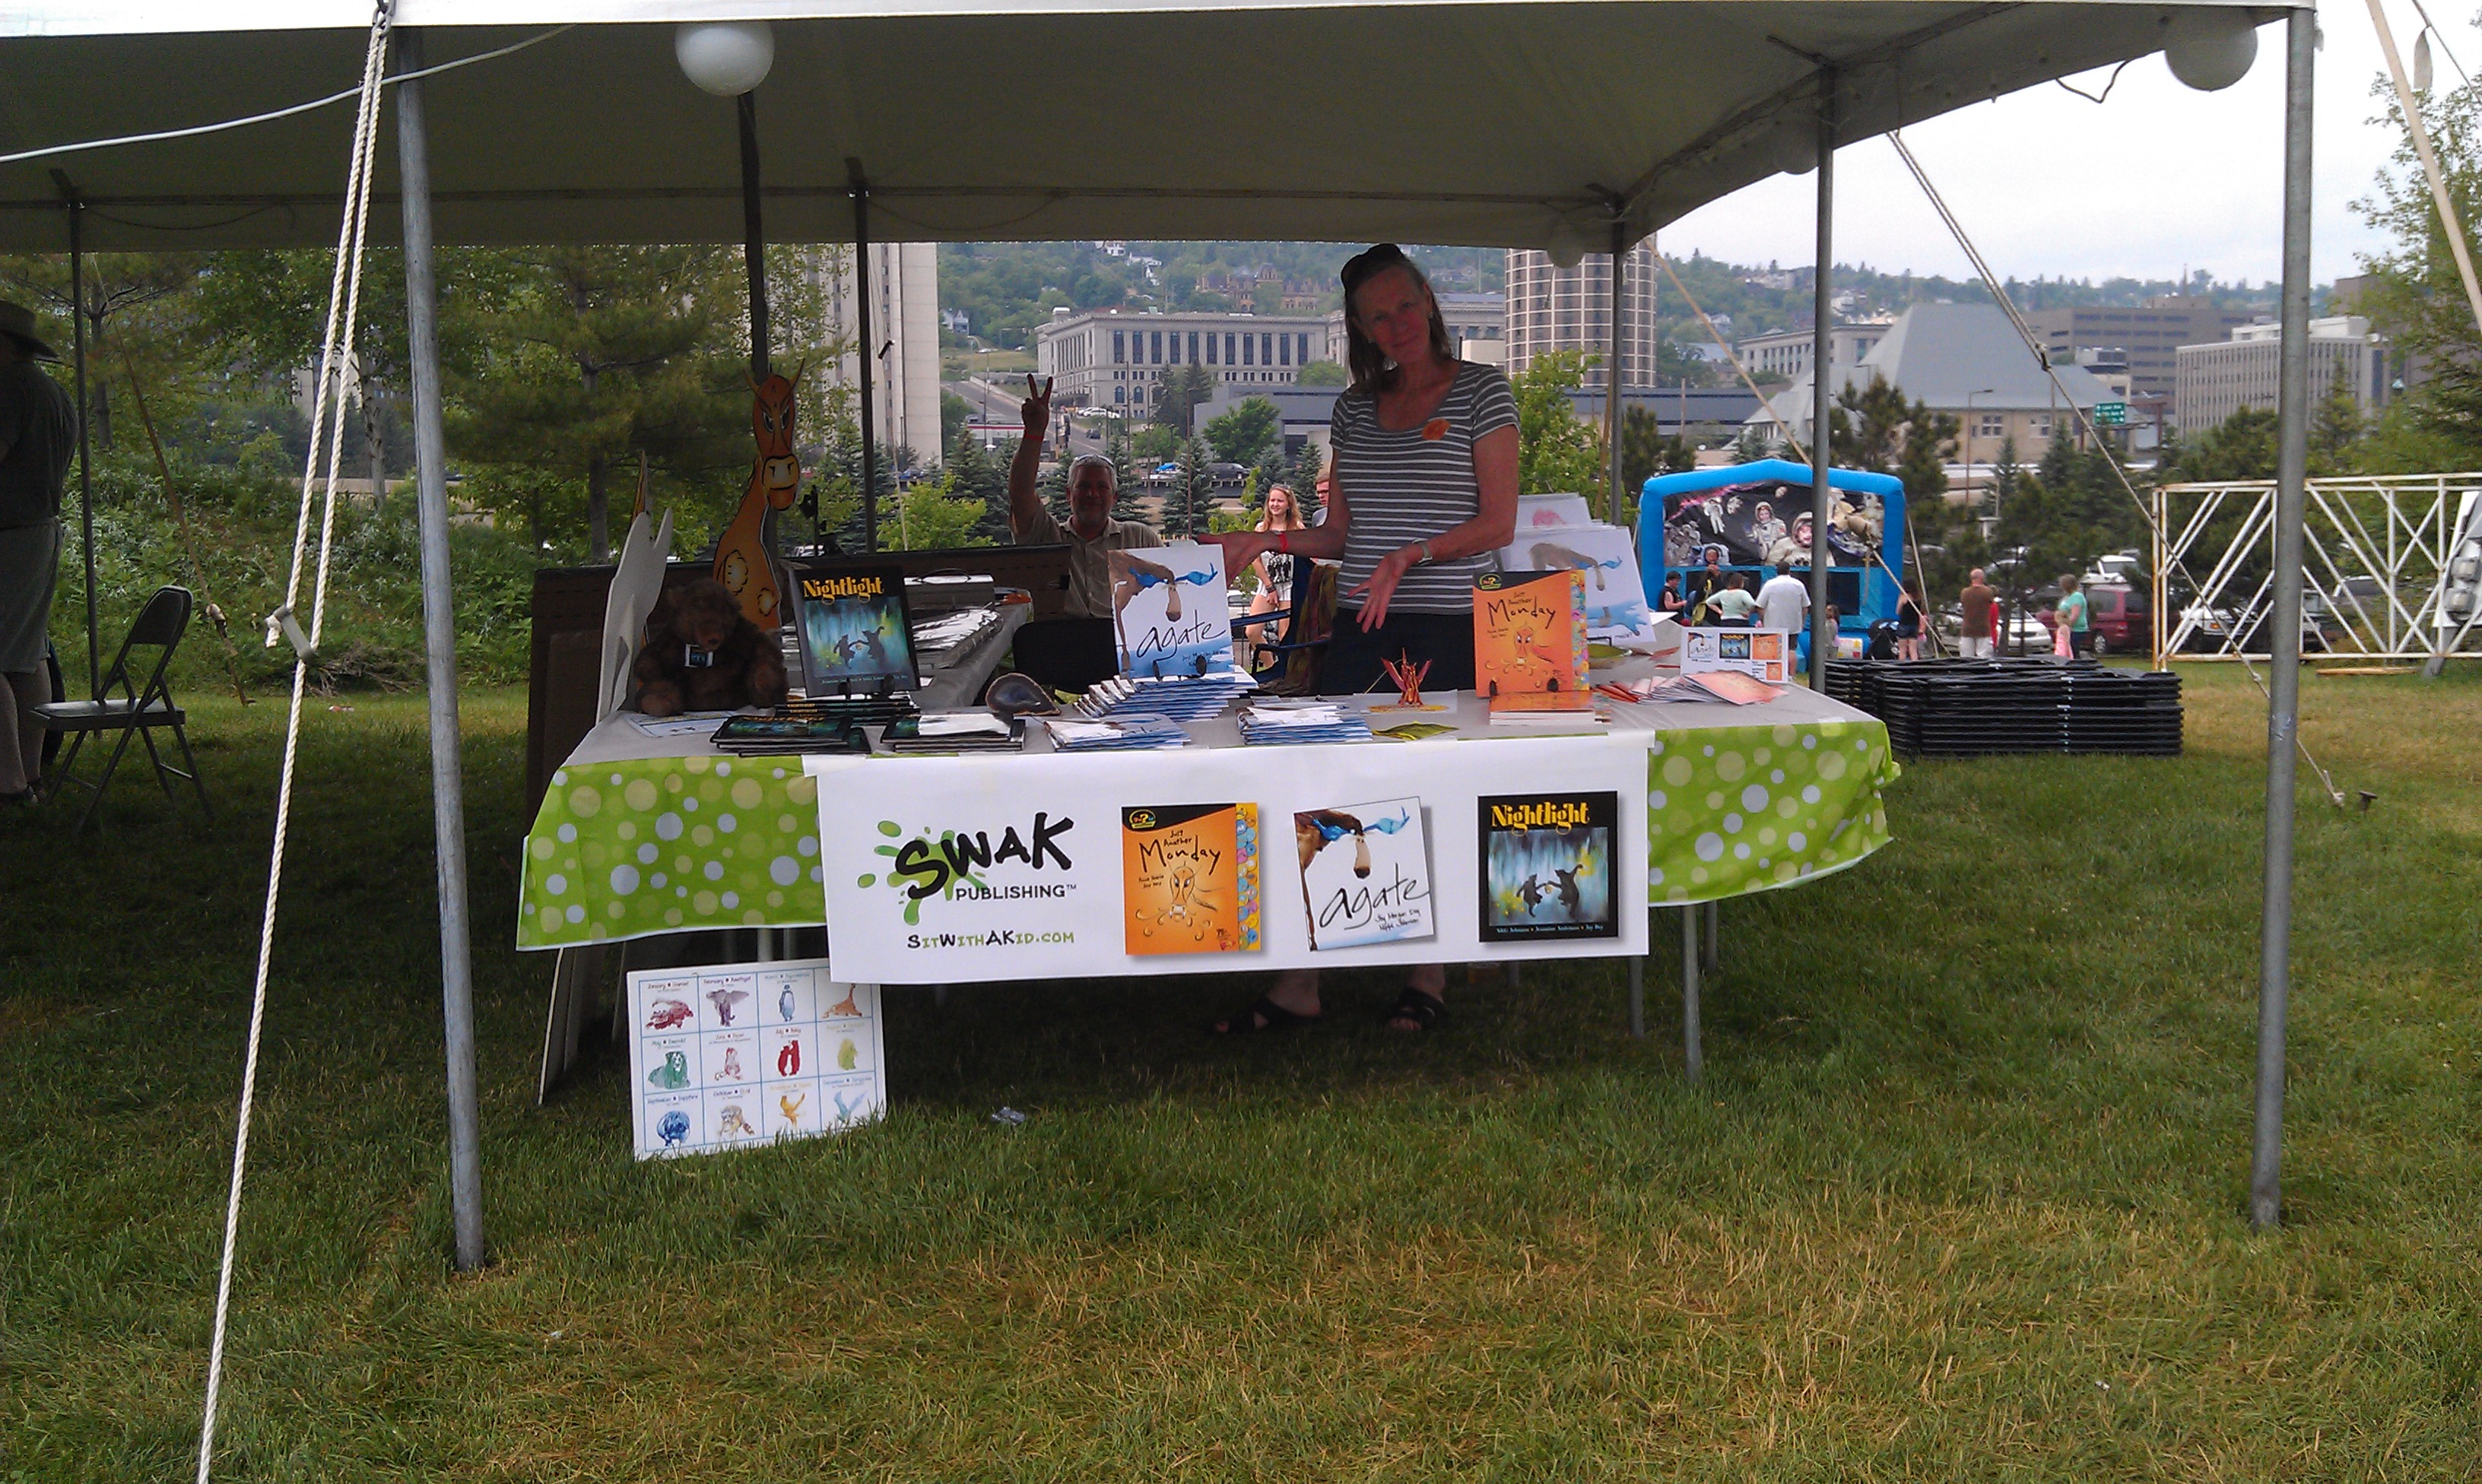
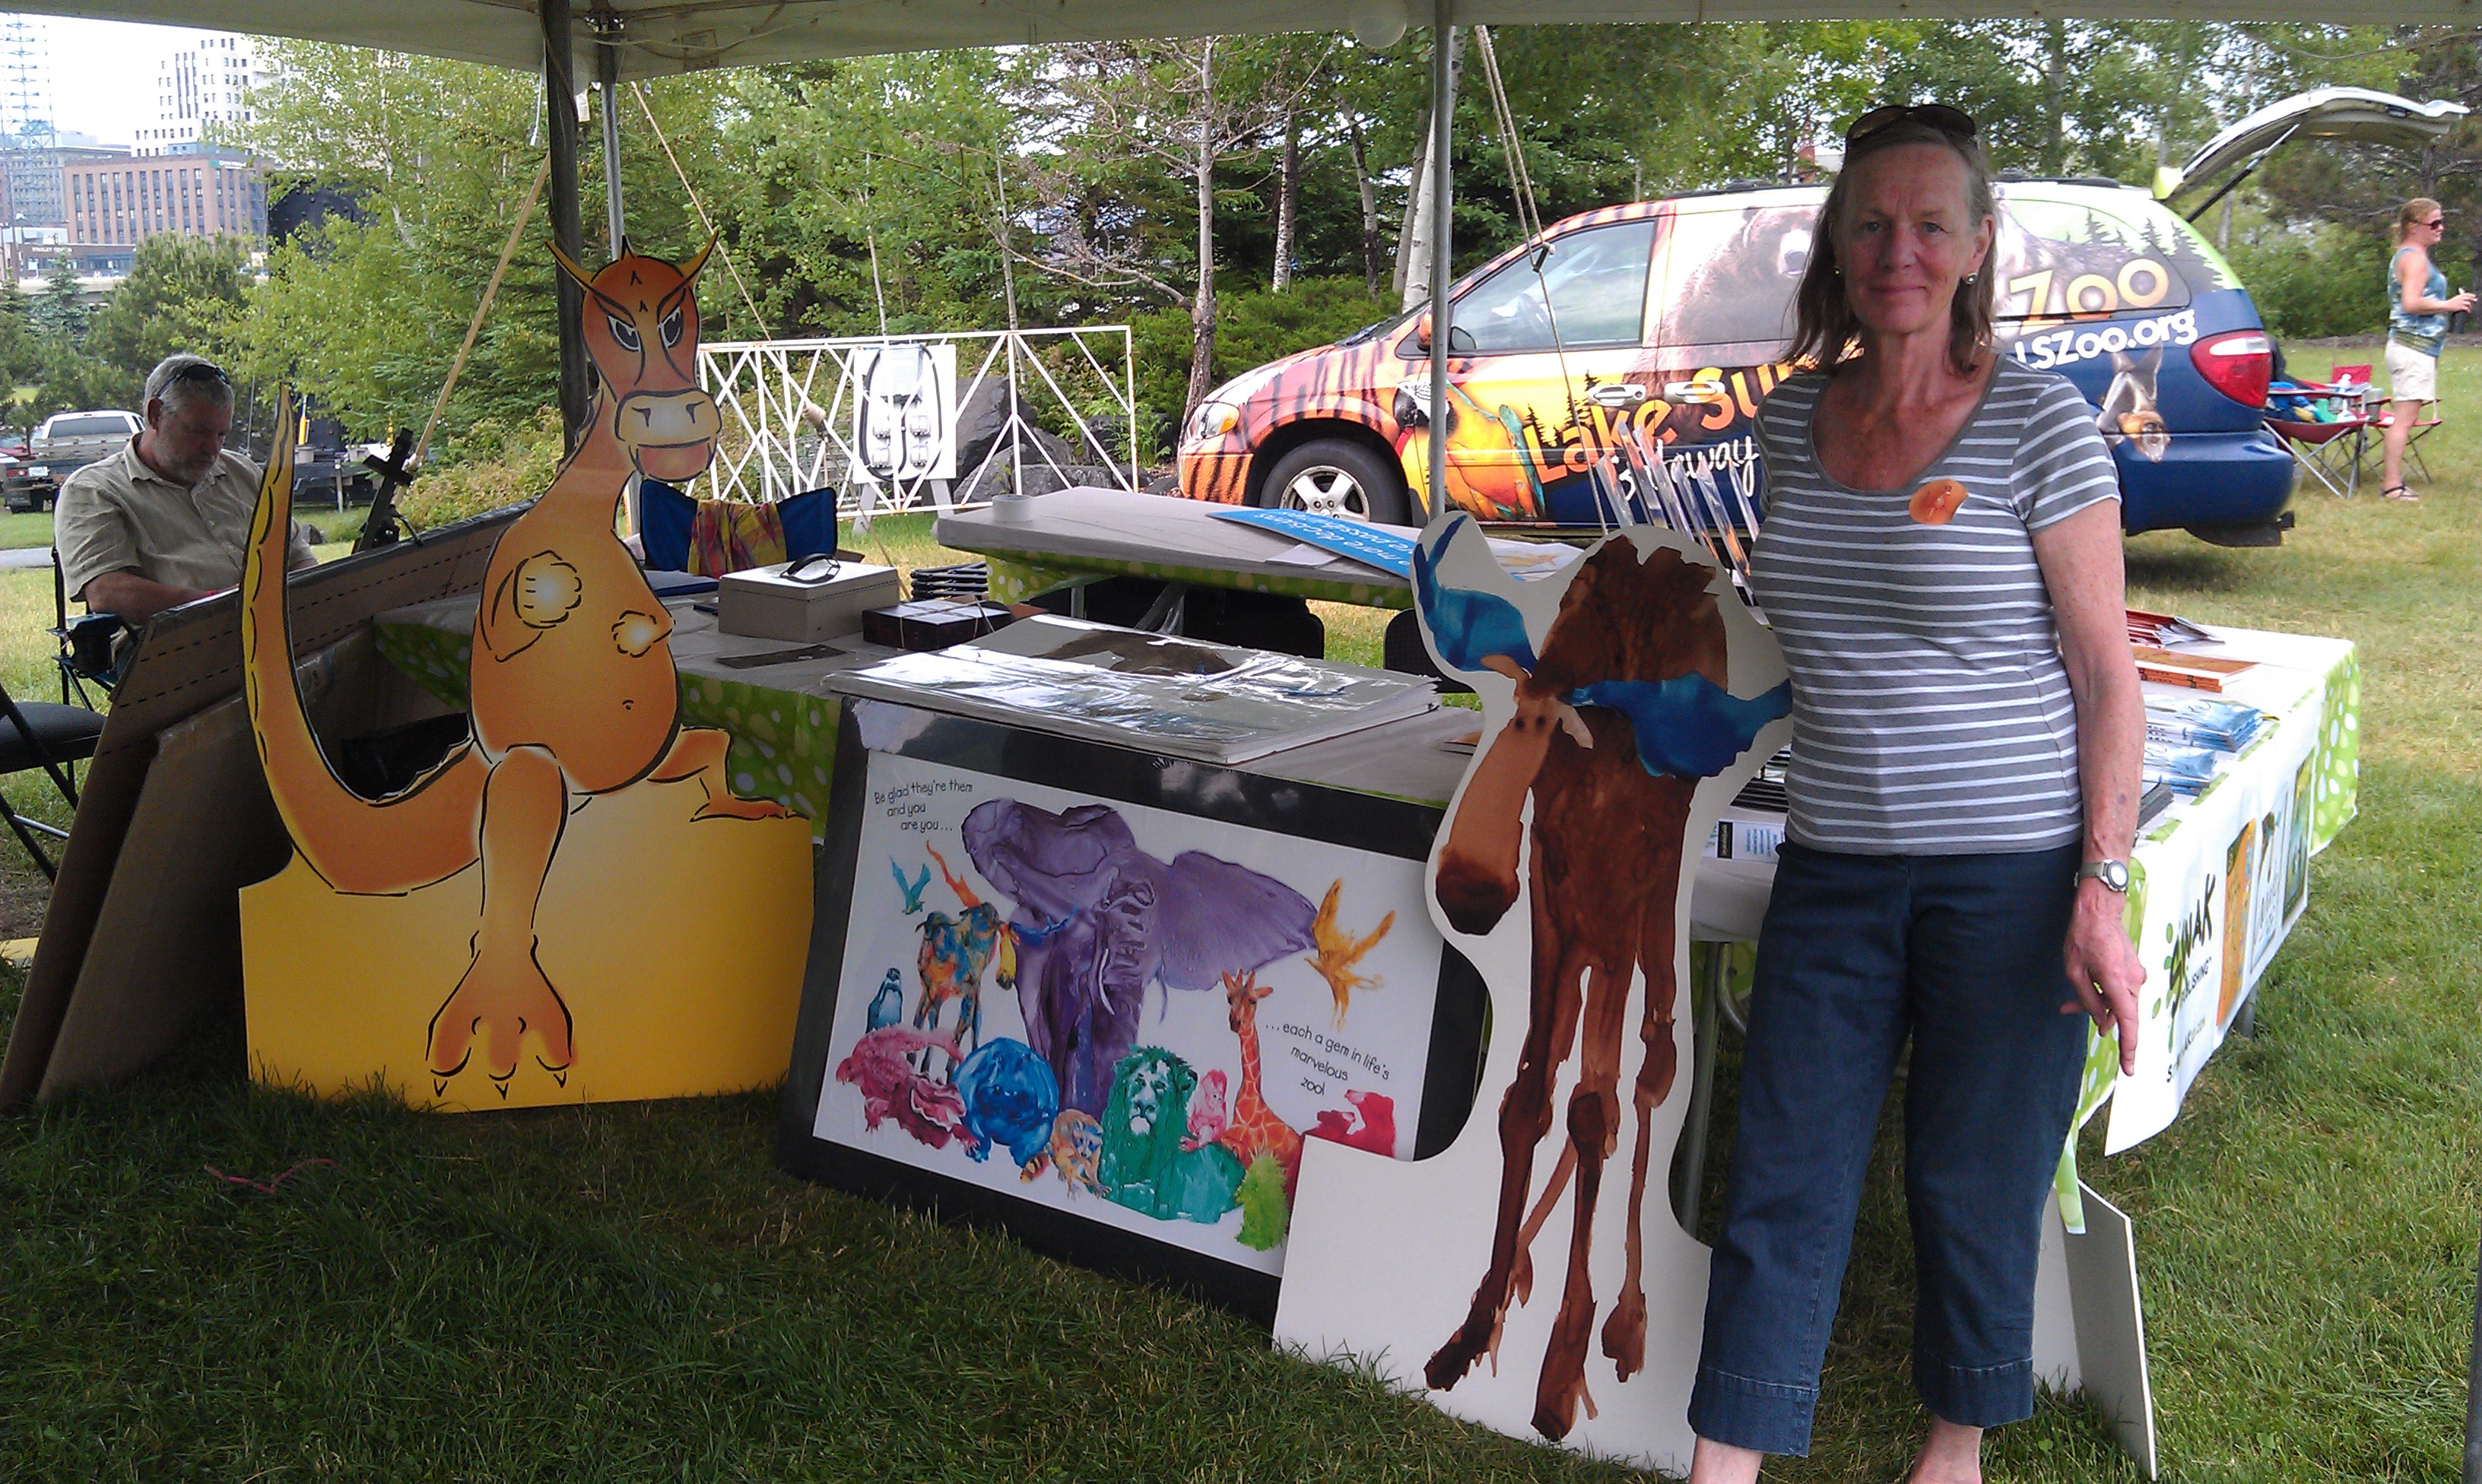
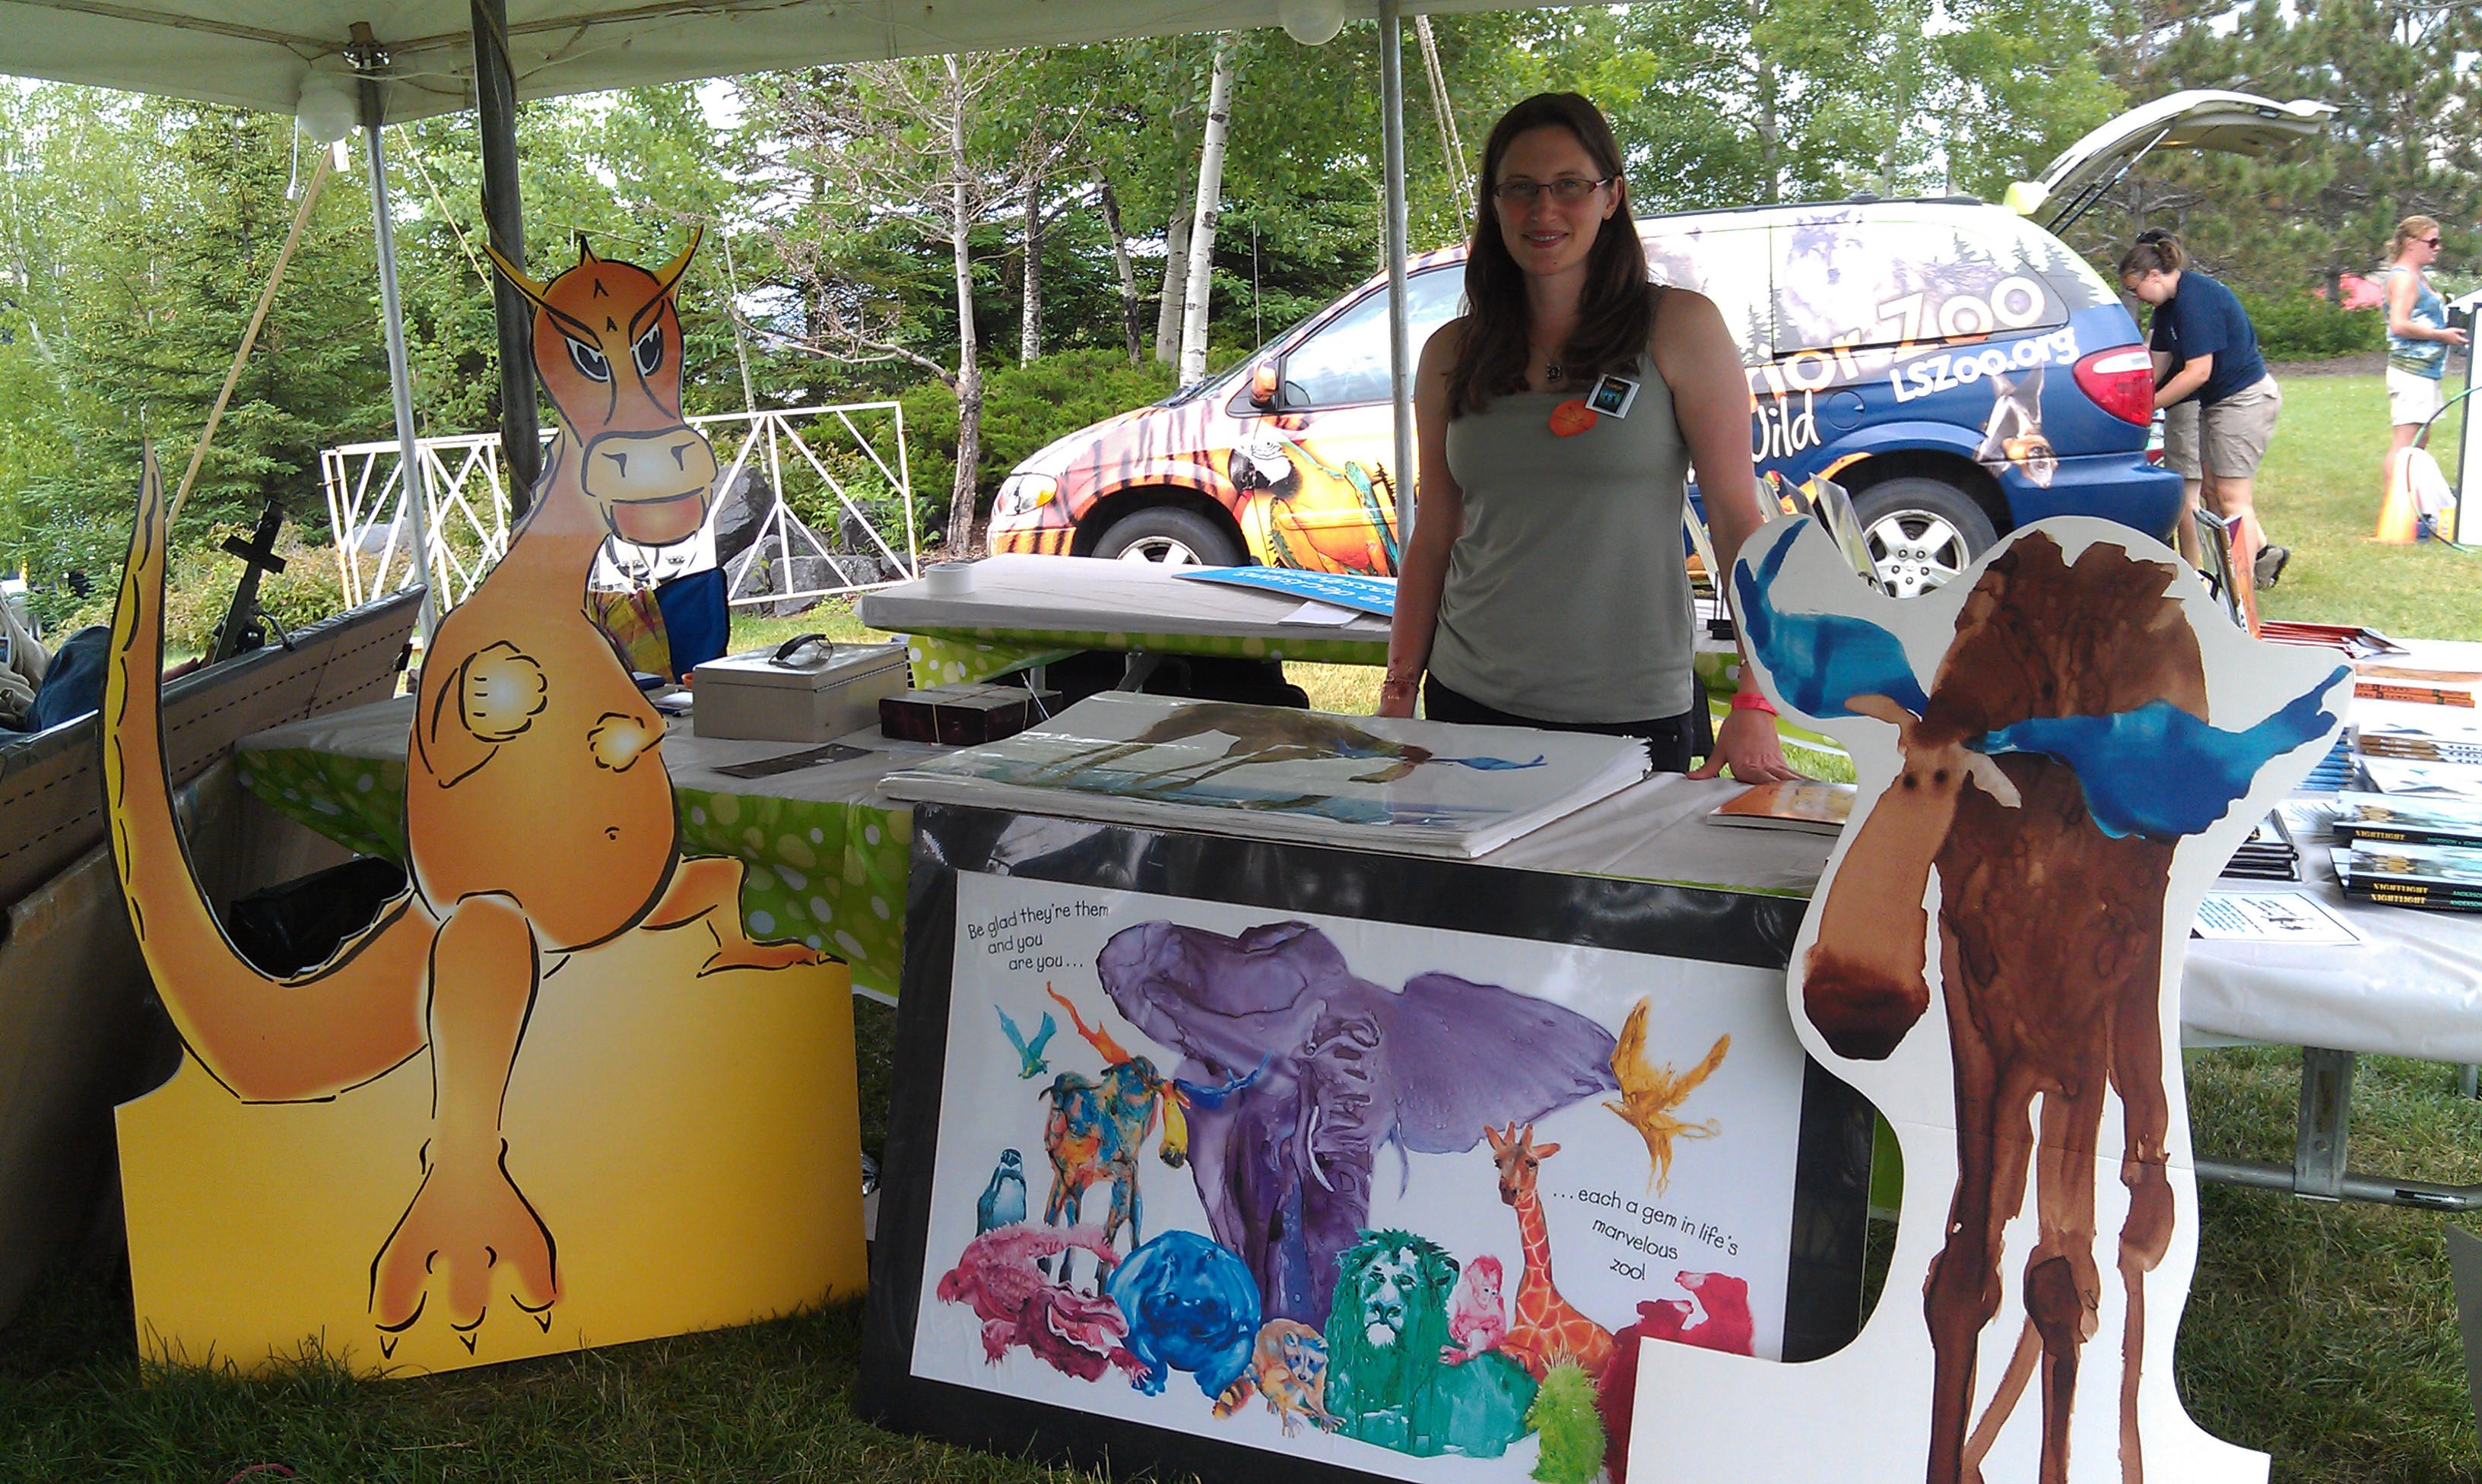
This doesn’t need much of an introduction – the title says it all. We had an amazing time at the MBPR Luncheon last week (we told our story and generally met some amazing people in the publishing/printing/marketing industry) and are feeling immersed in books, so here are a few ideas to share our enthusiasm:

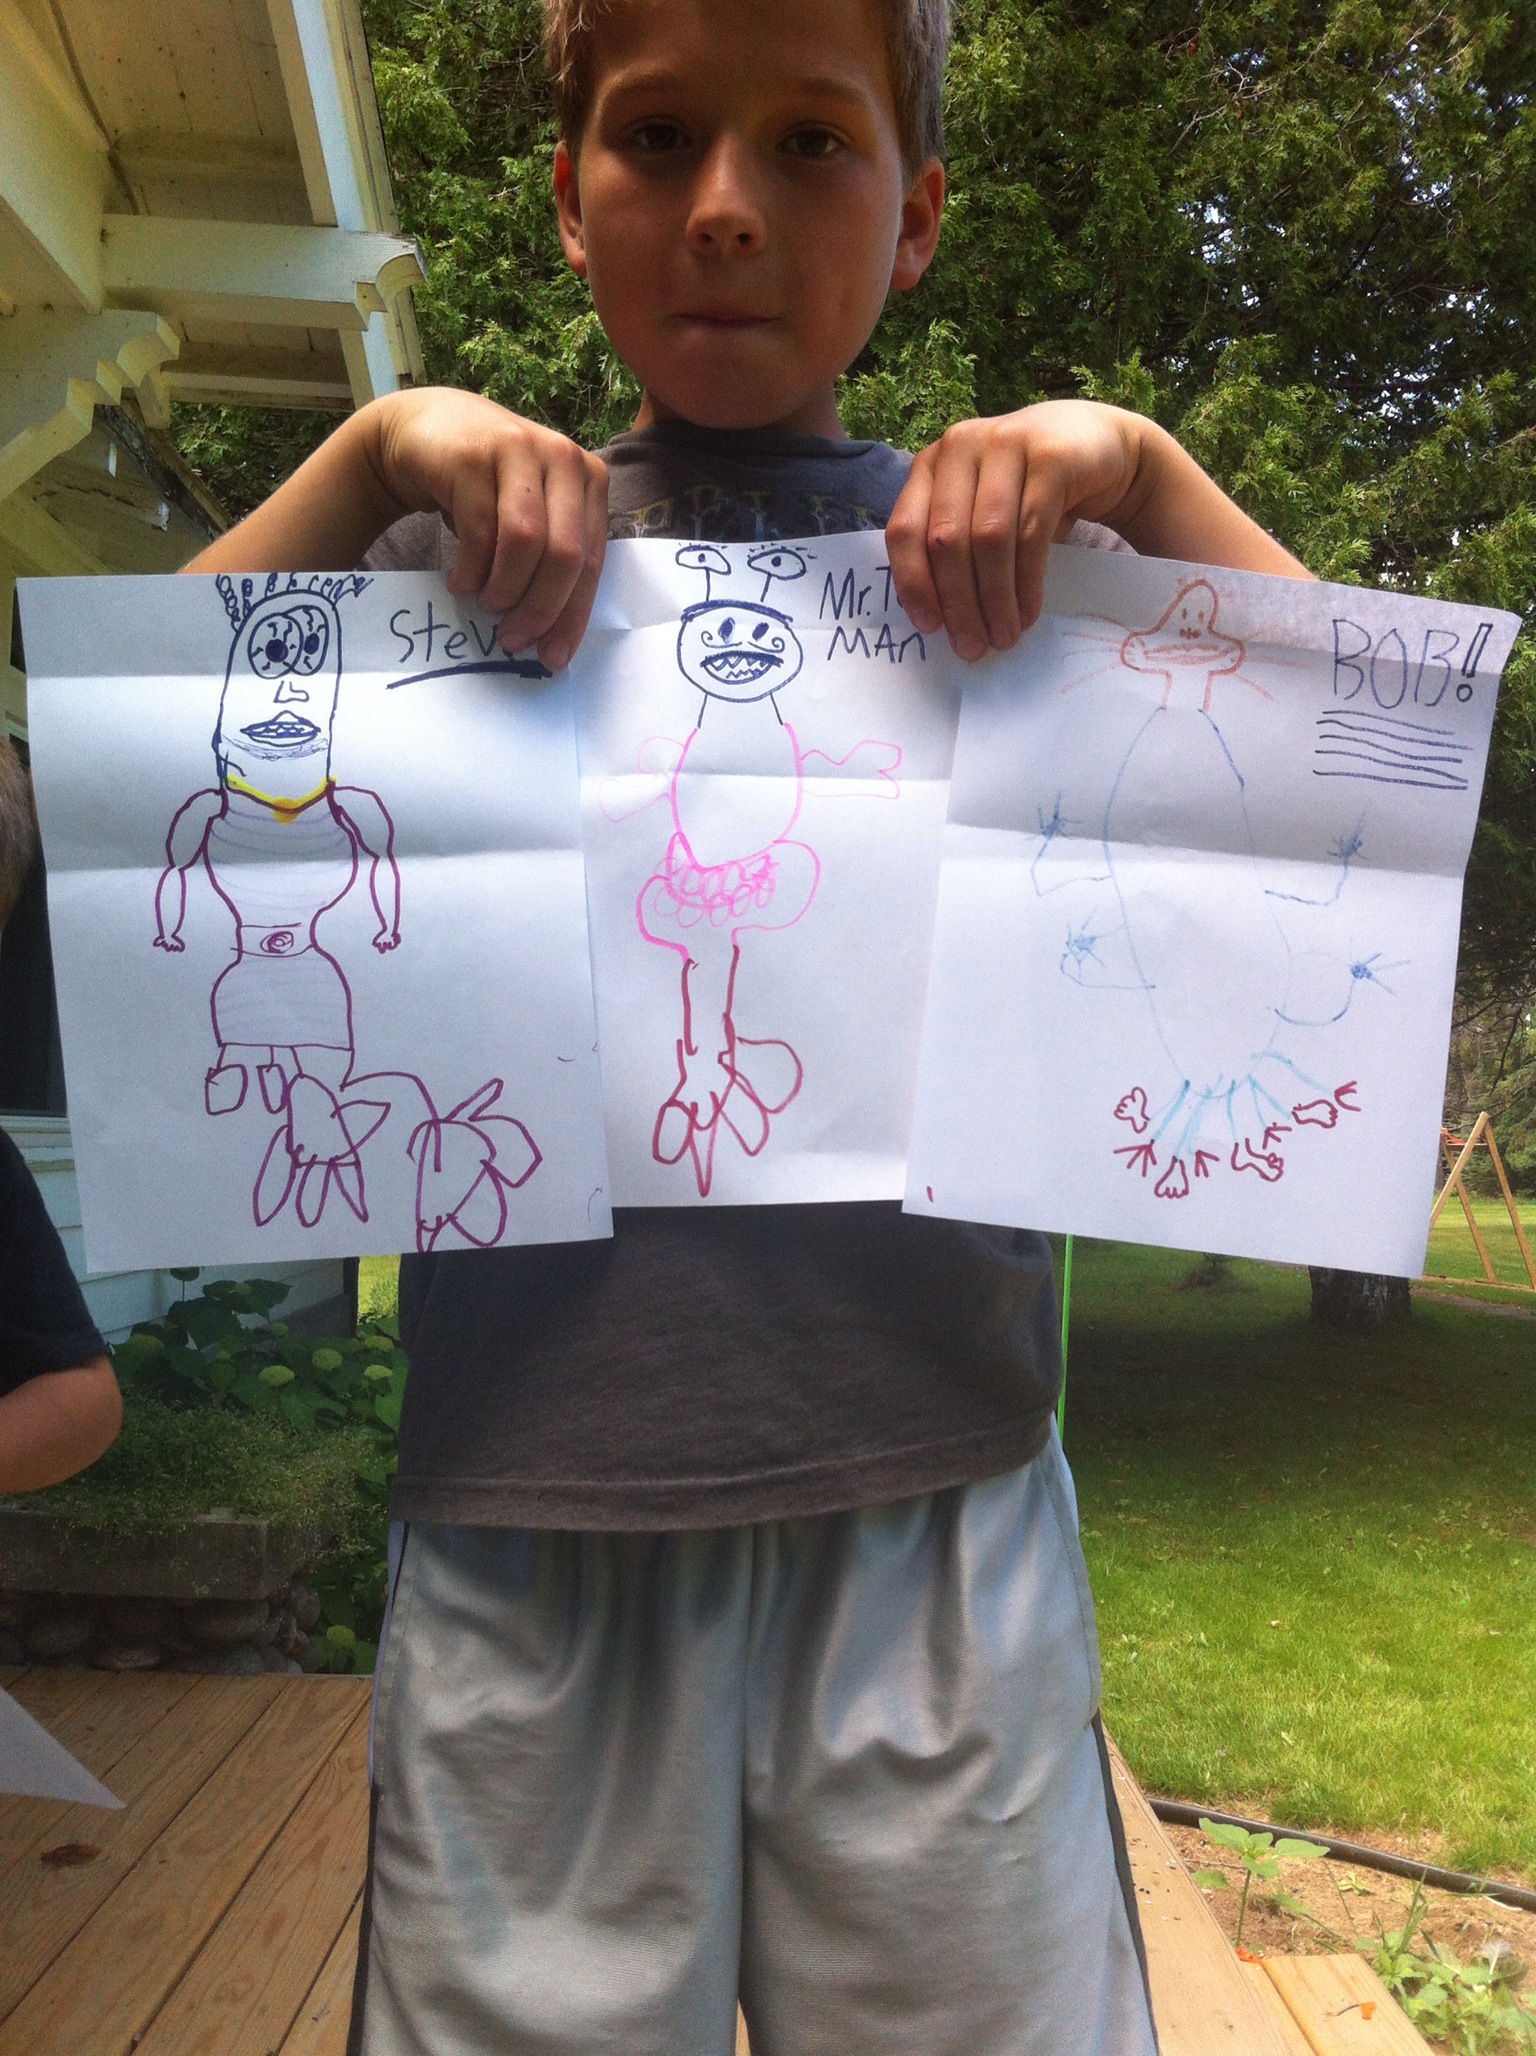
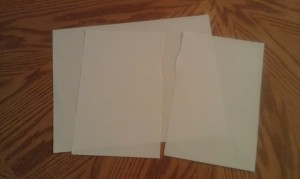
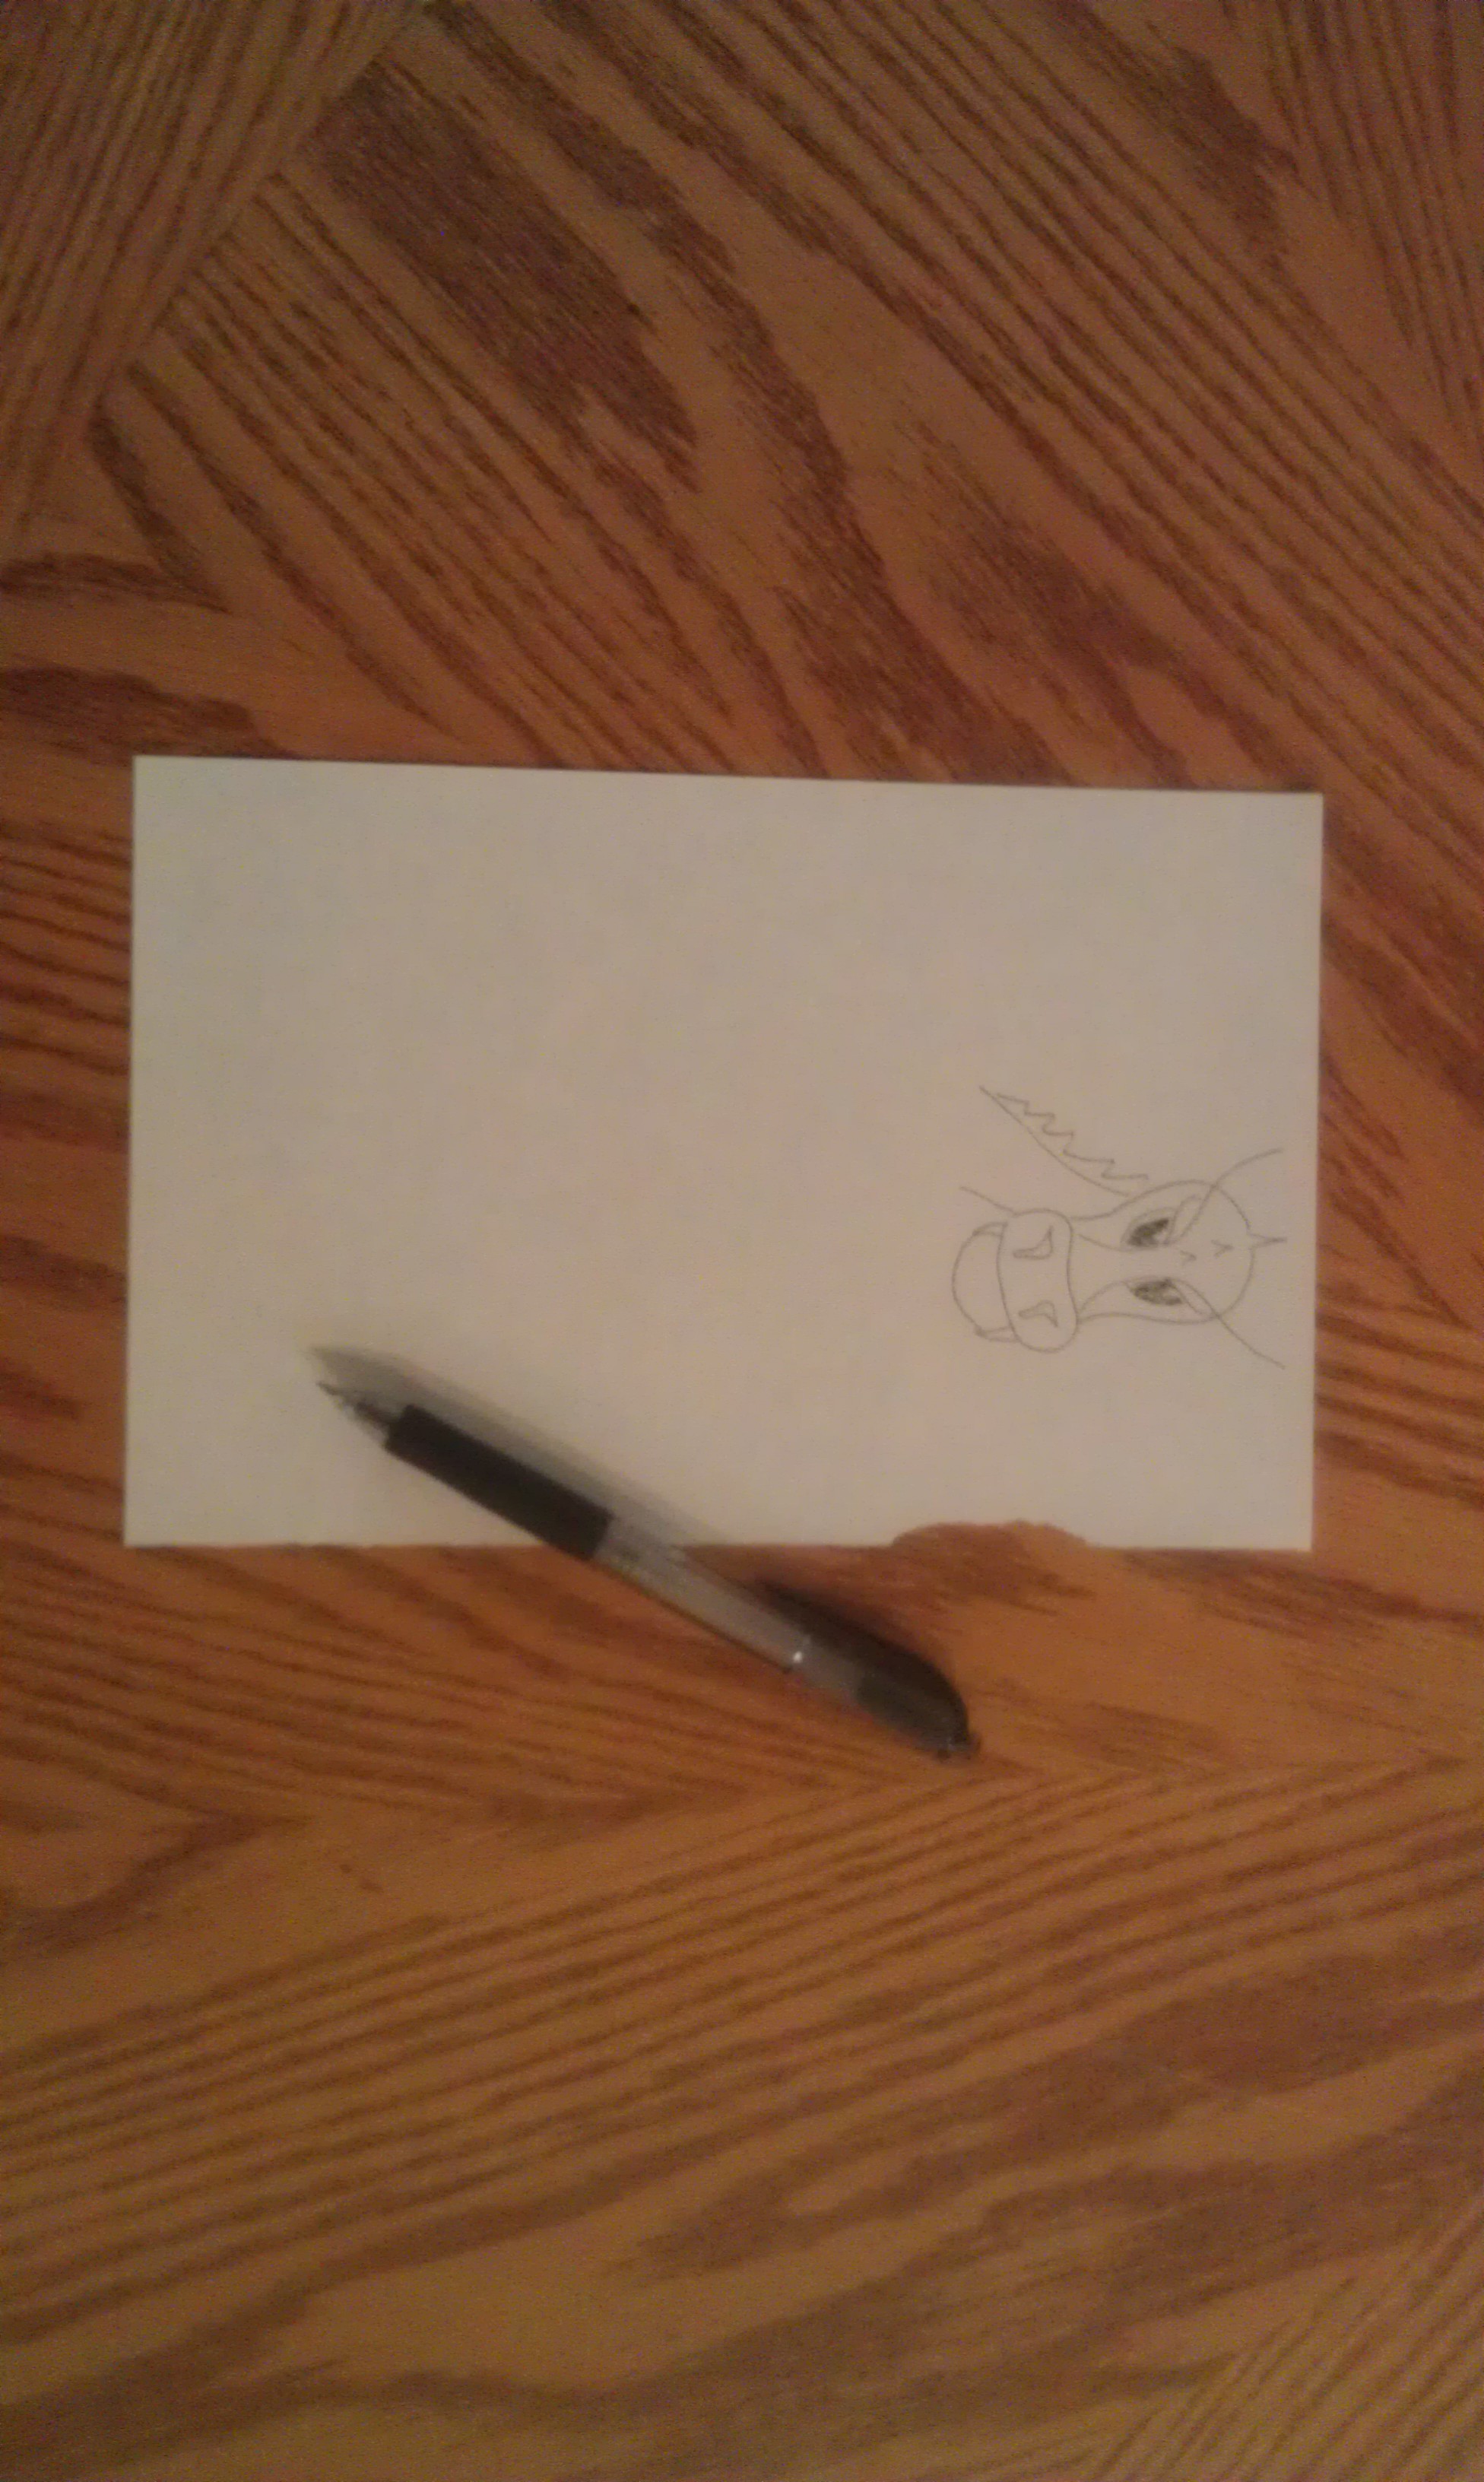
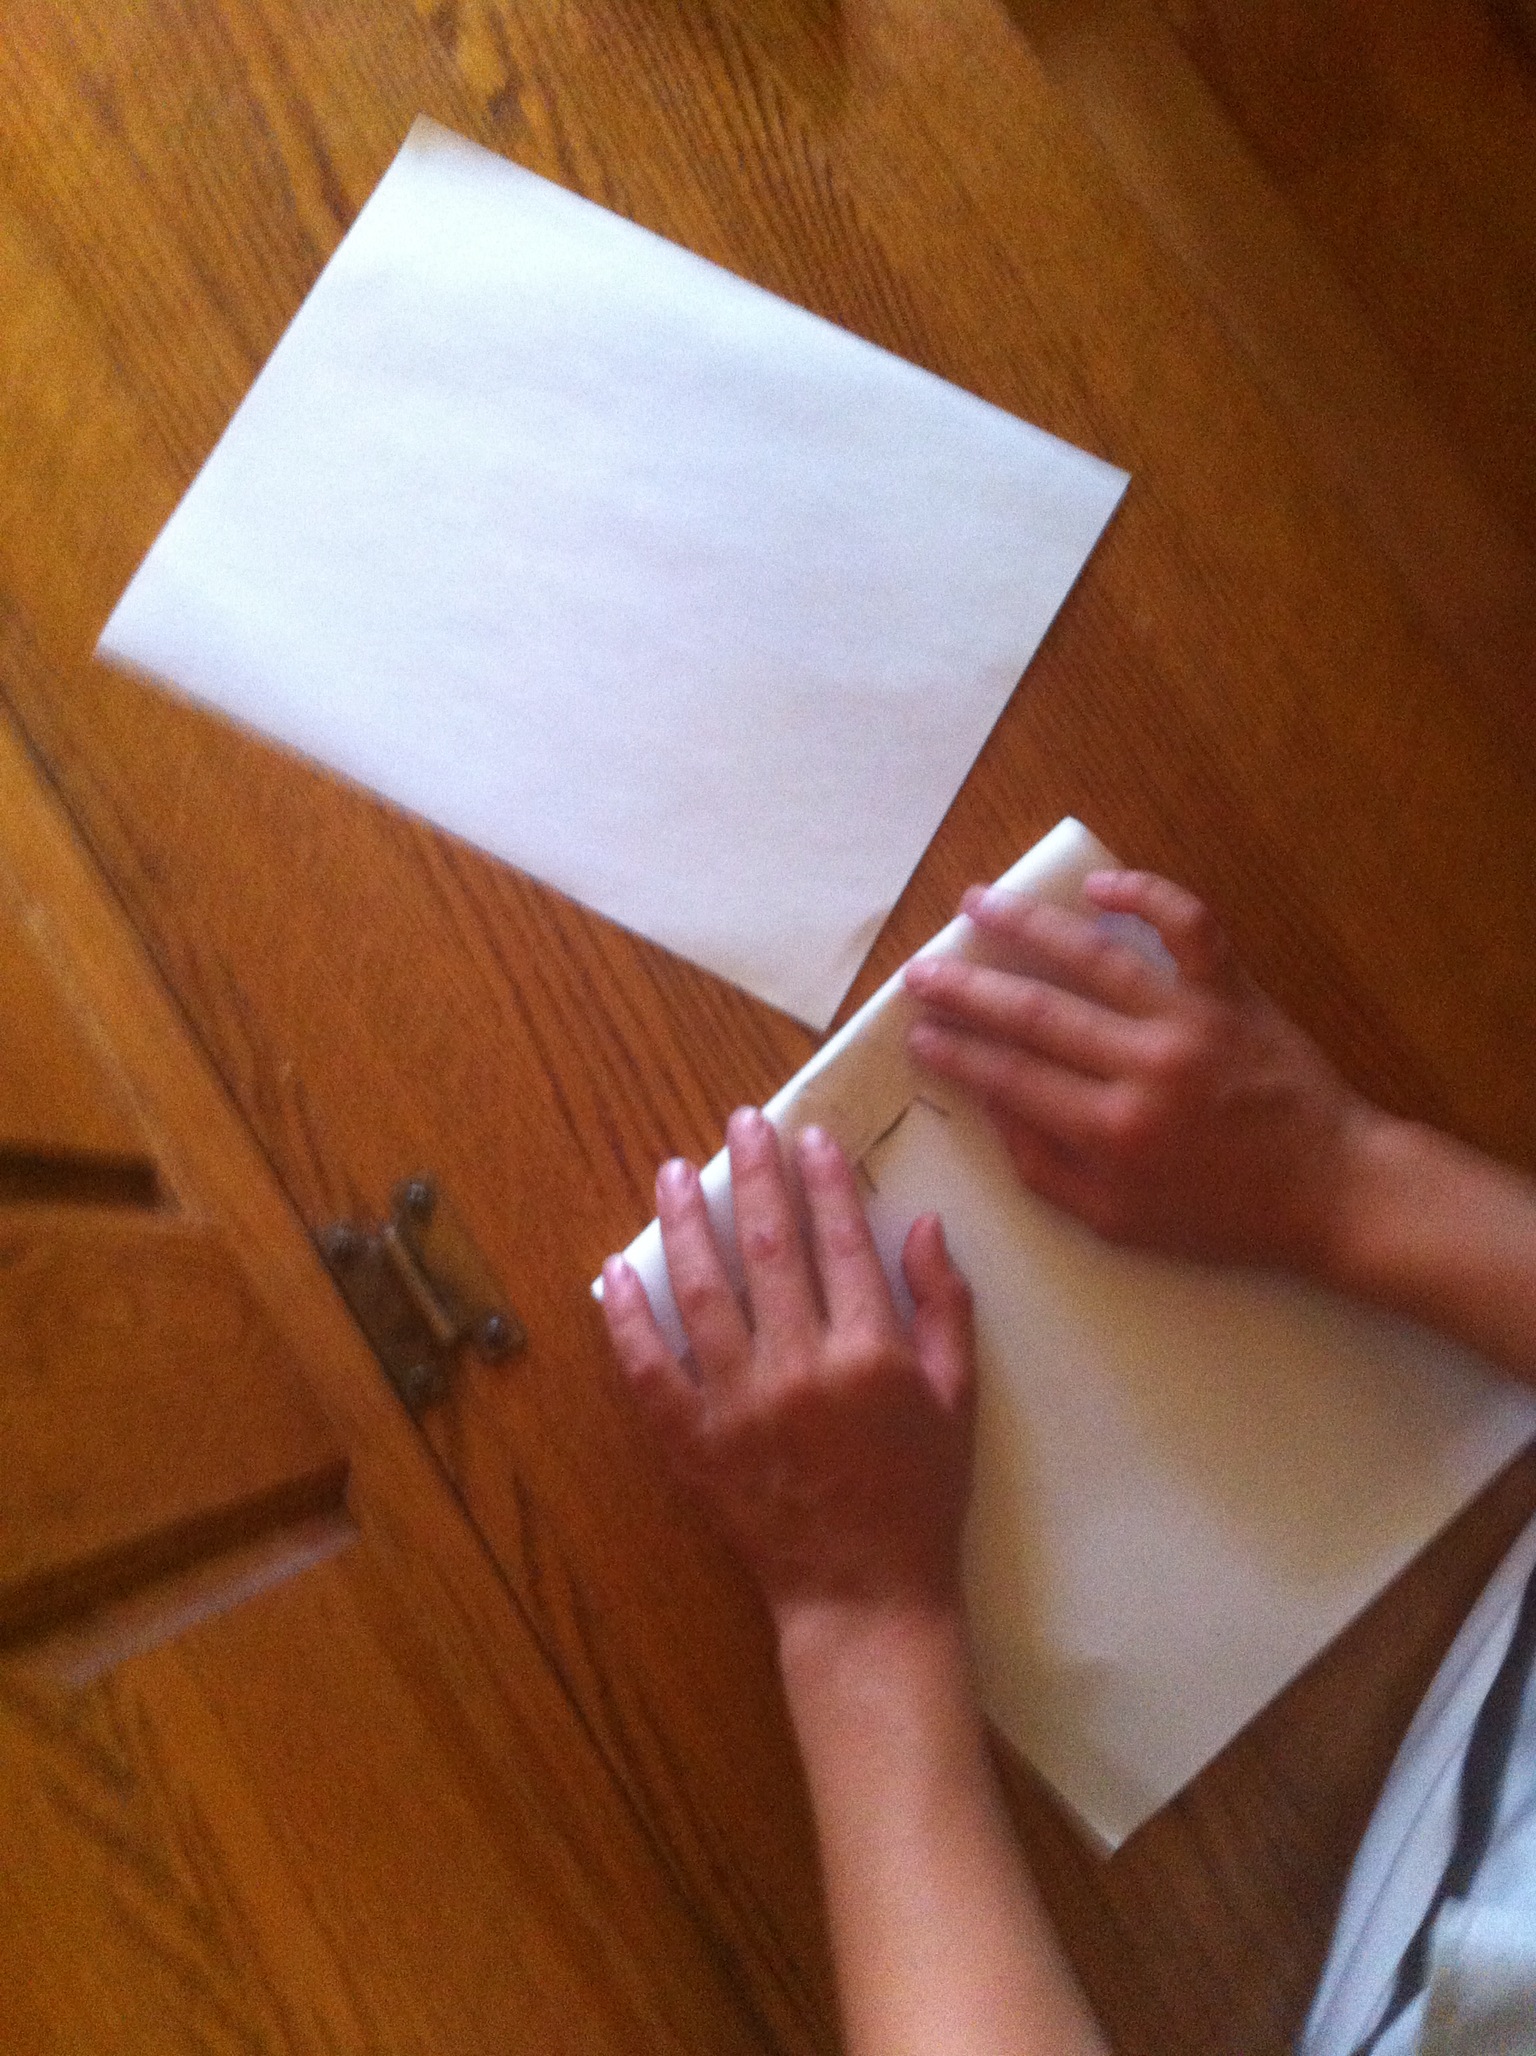
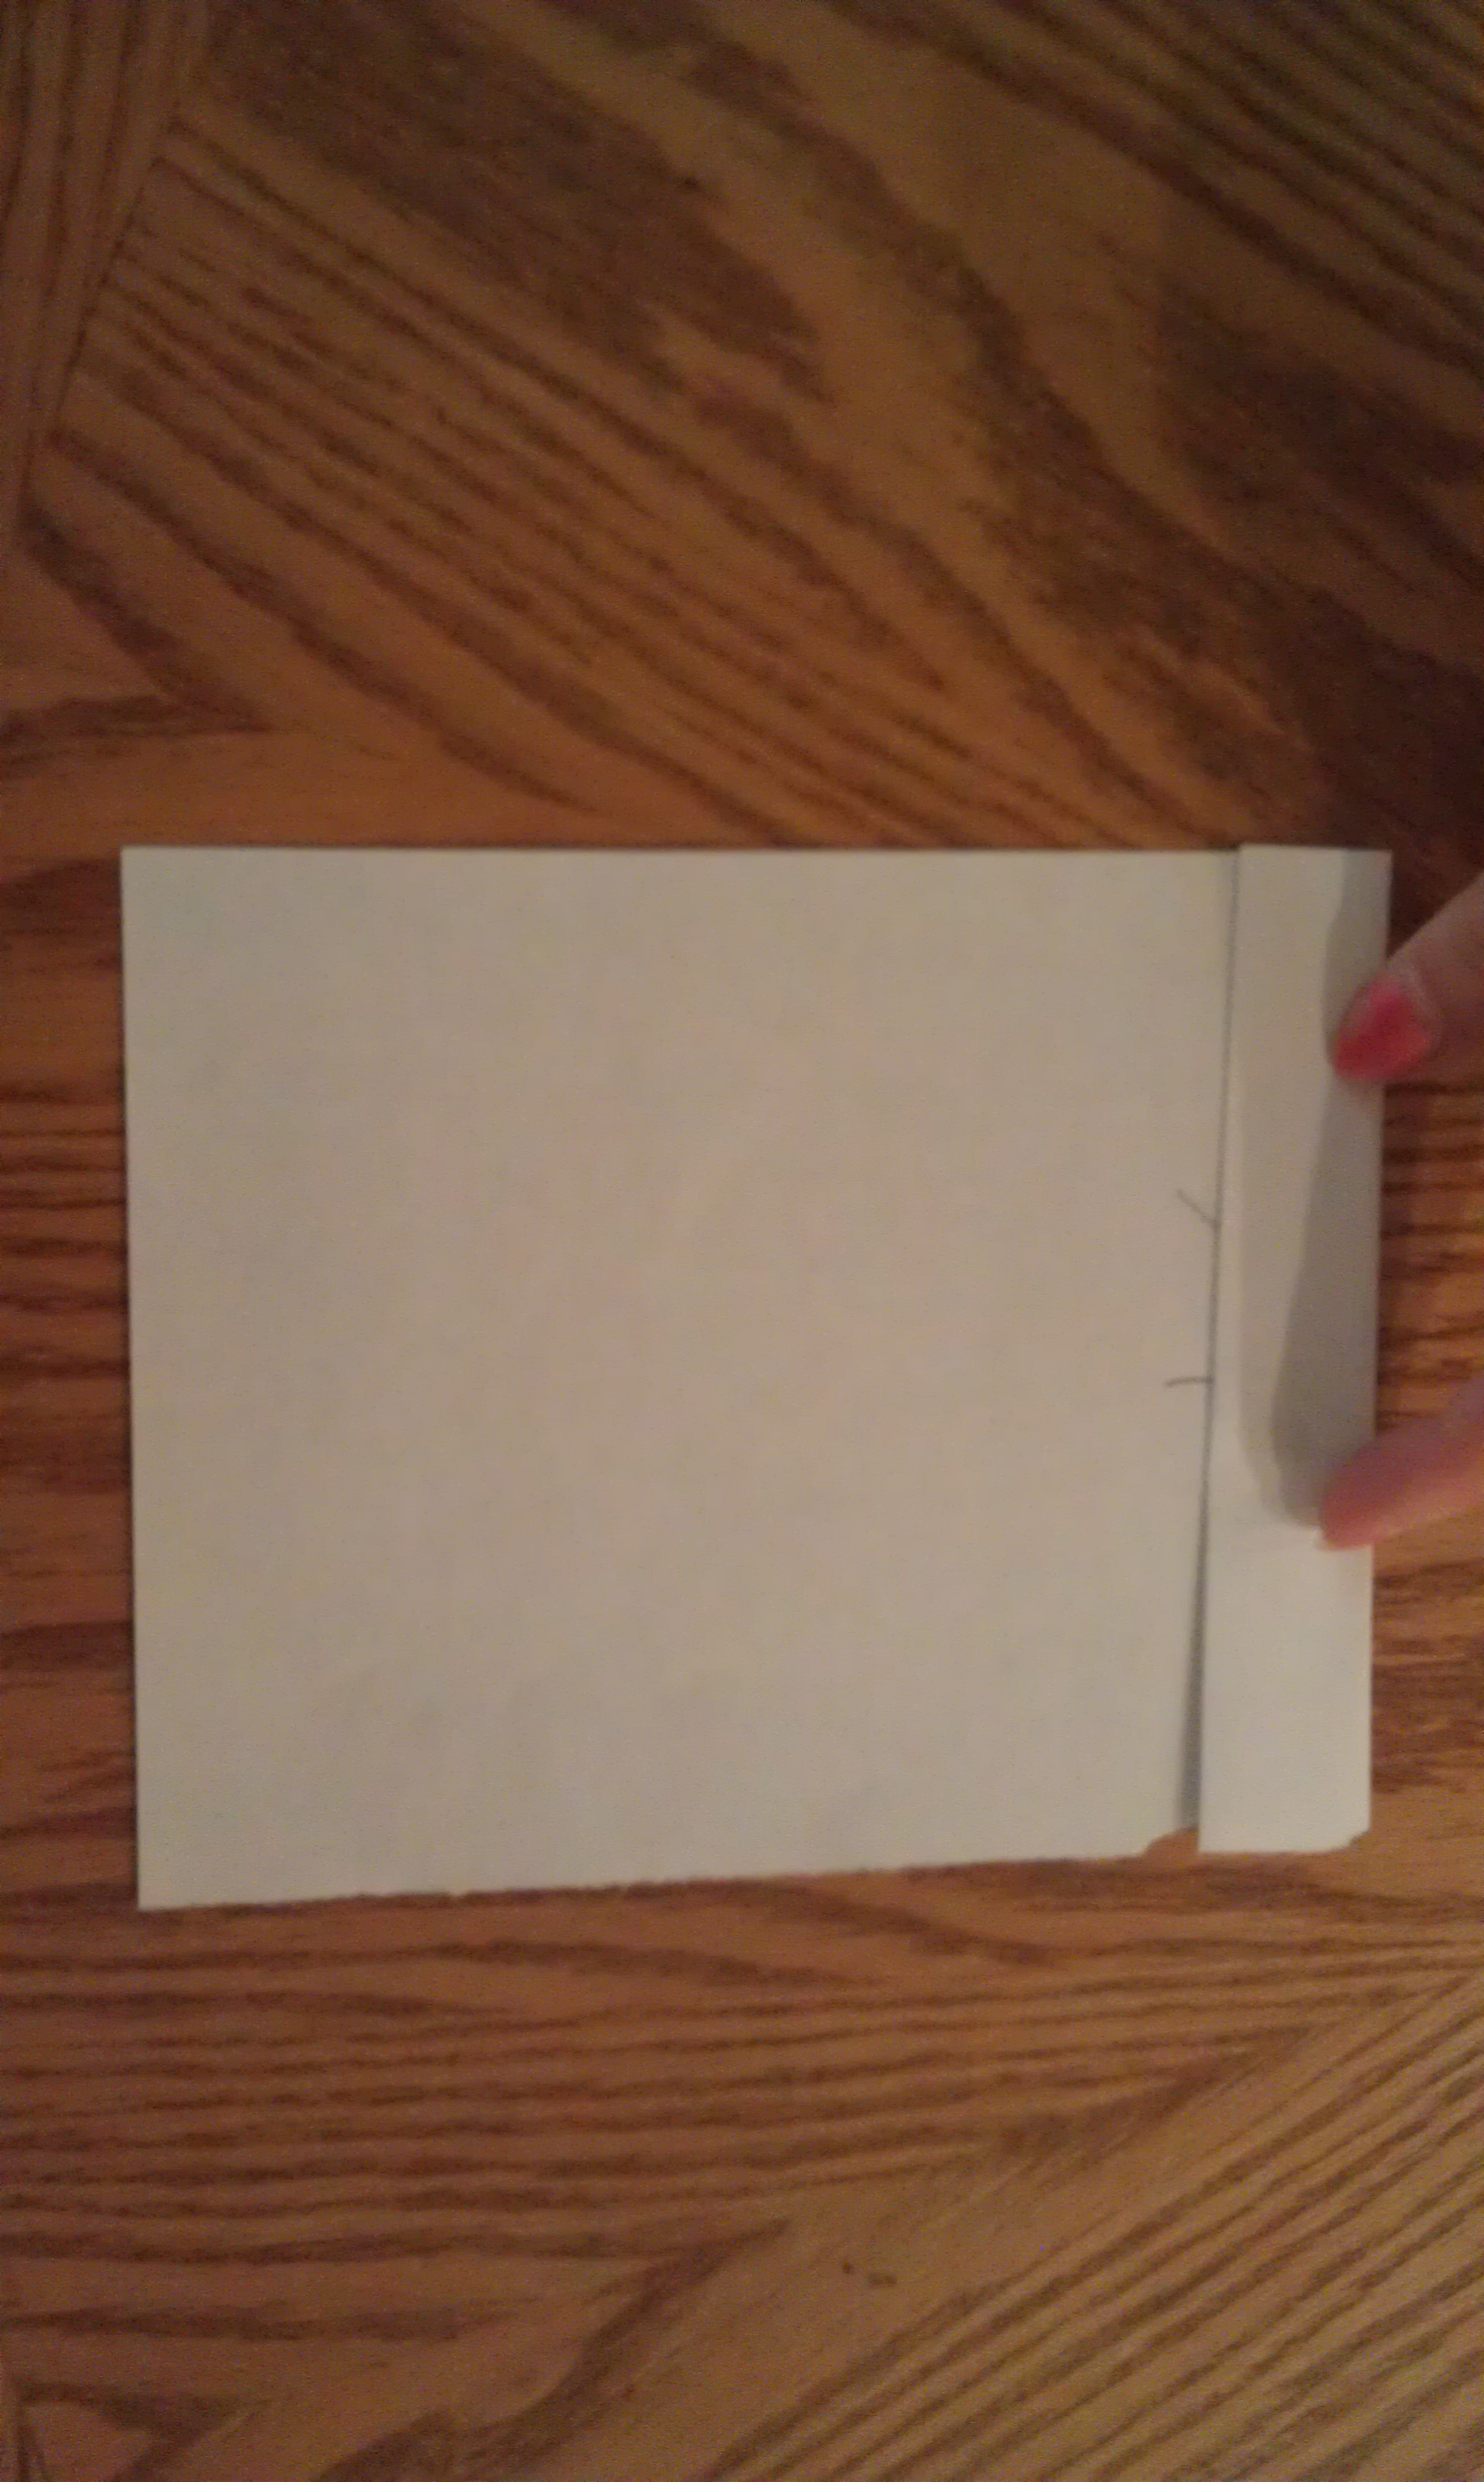
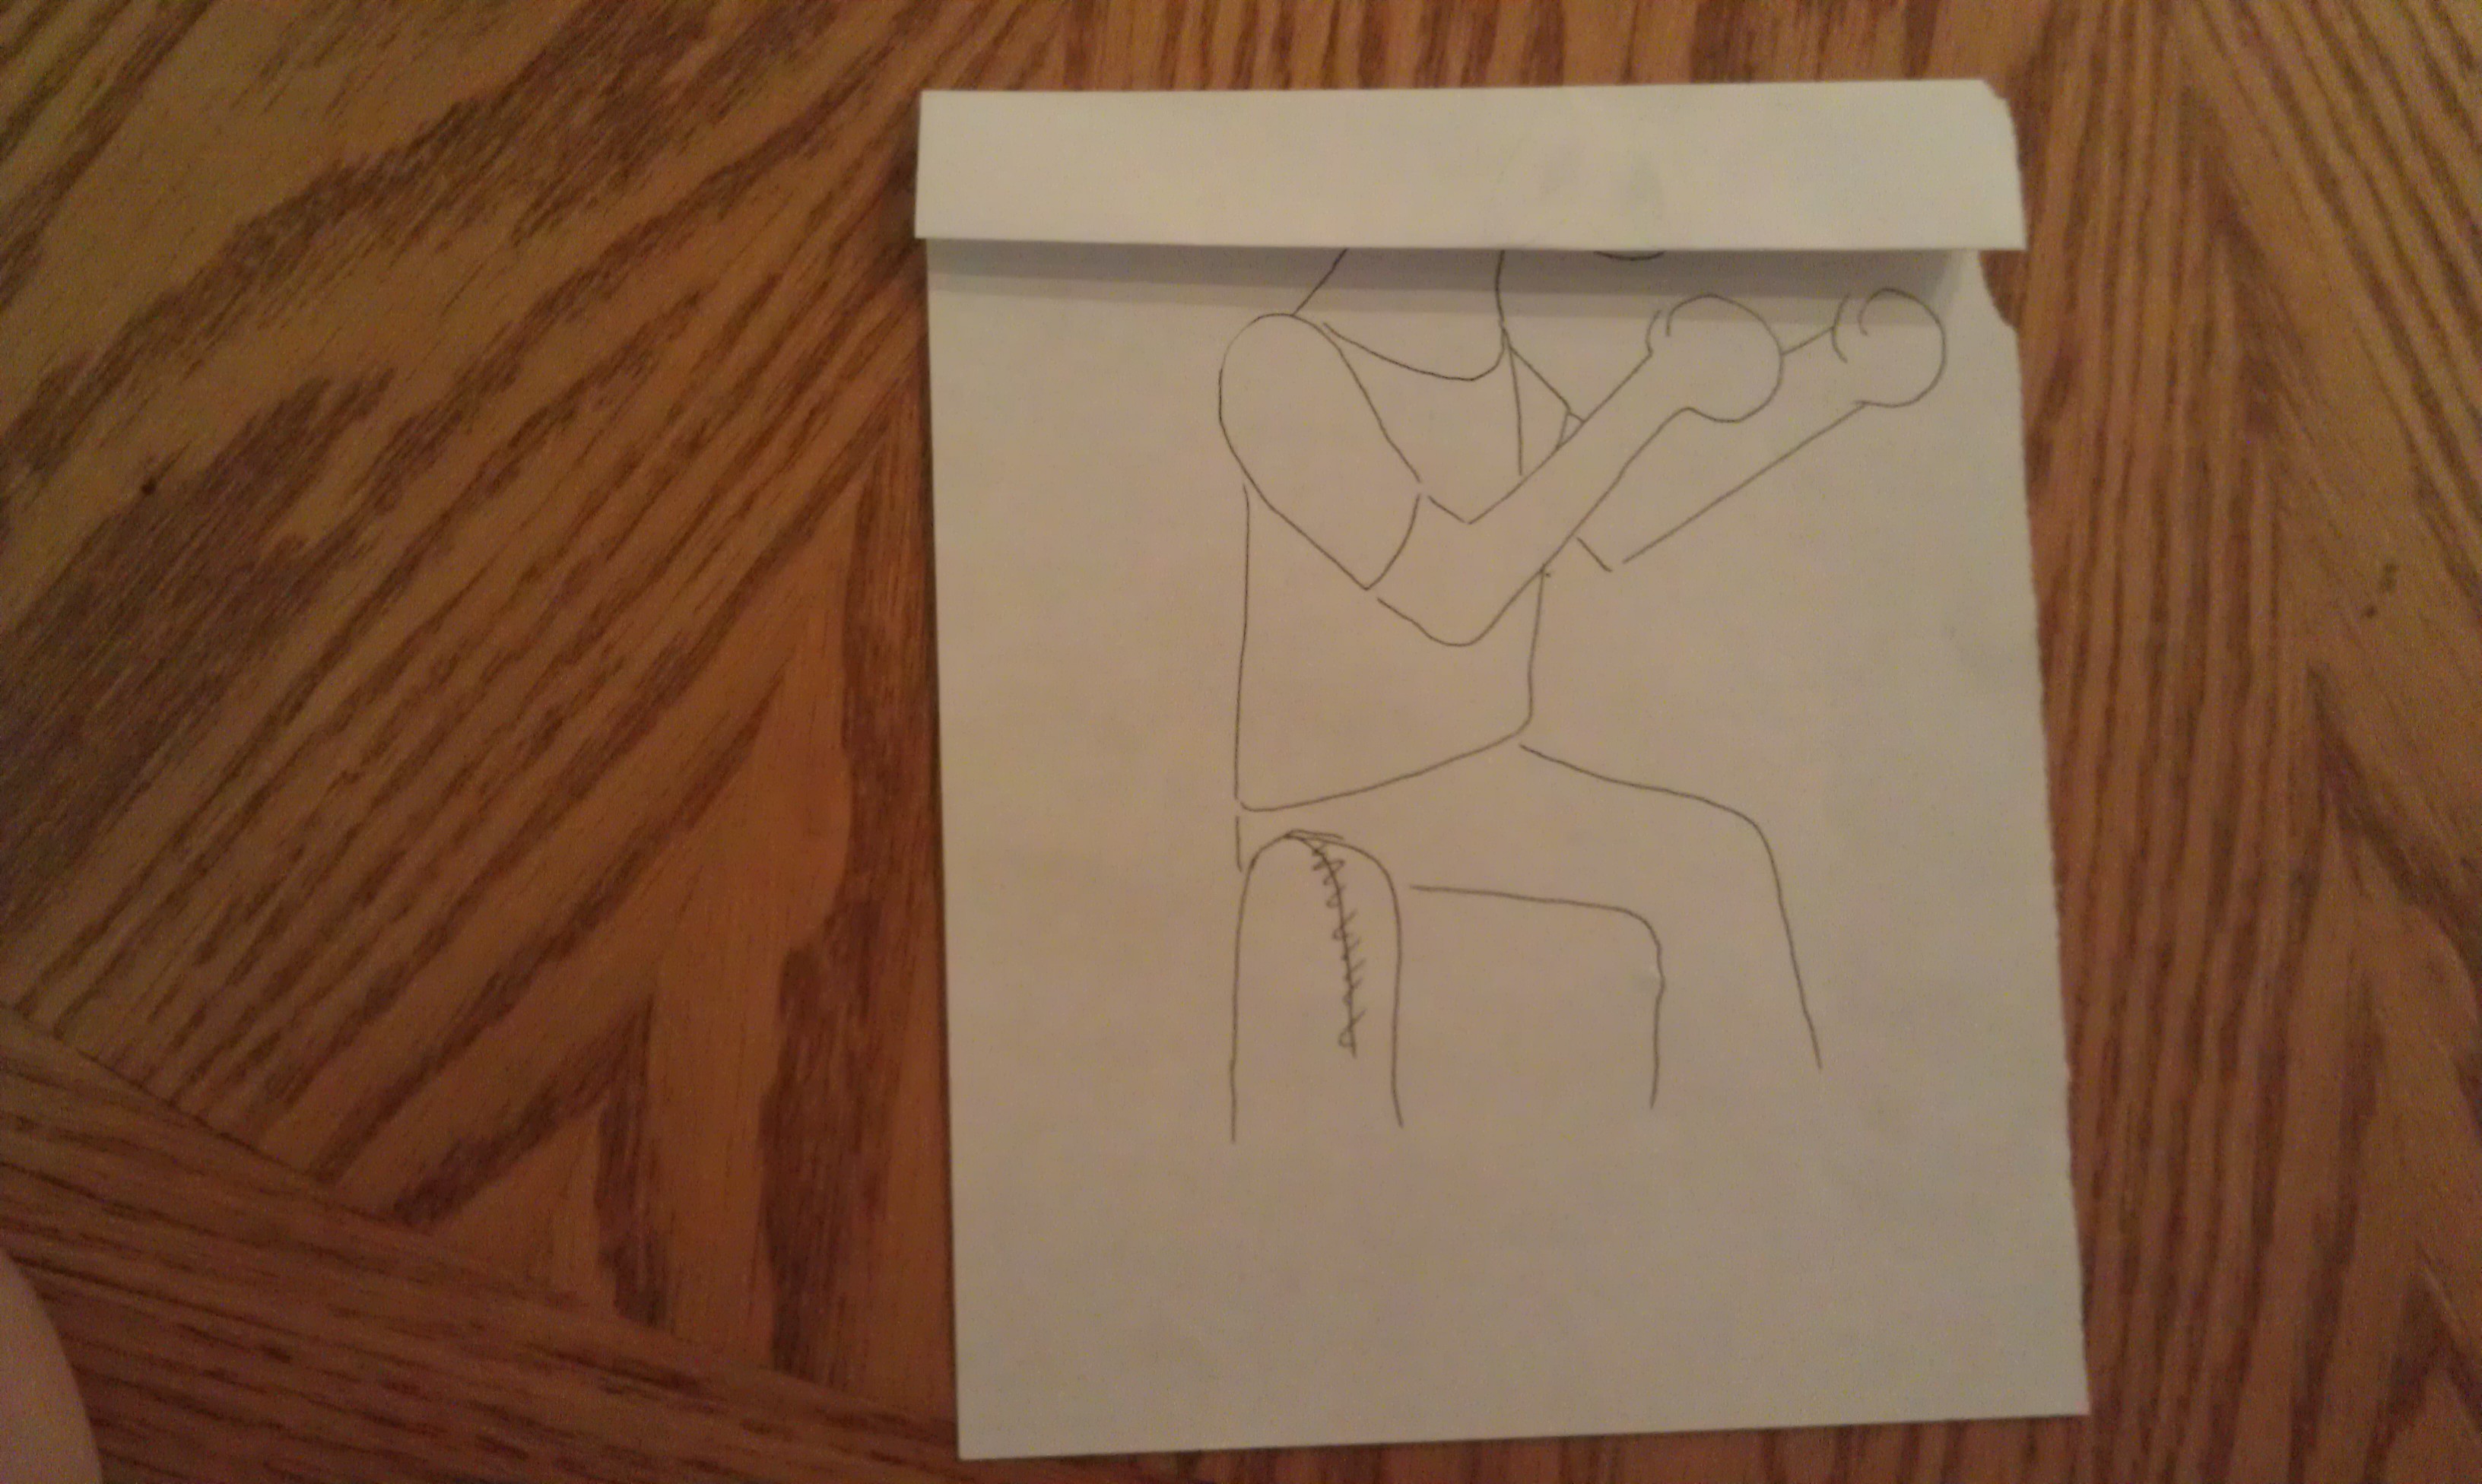
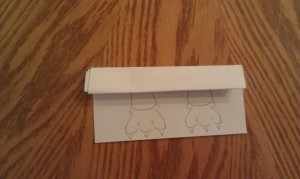
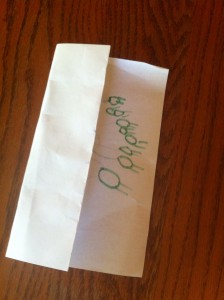
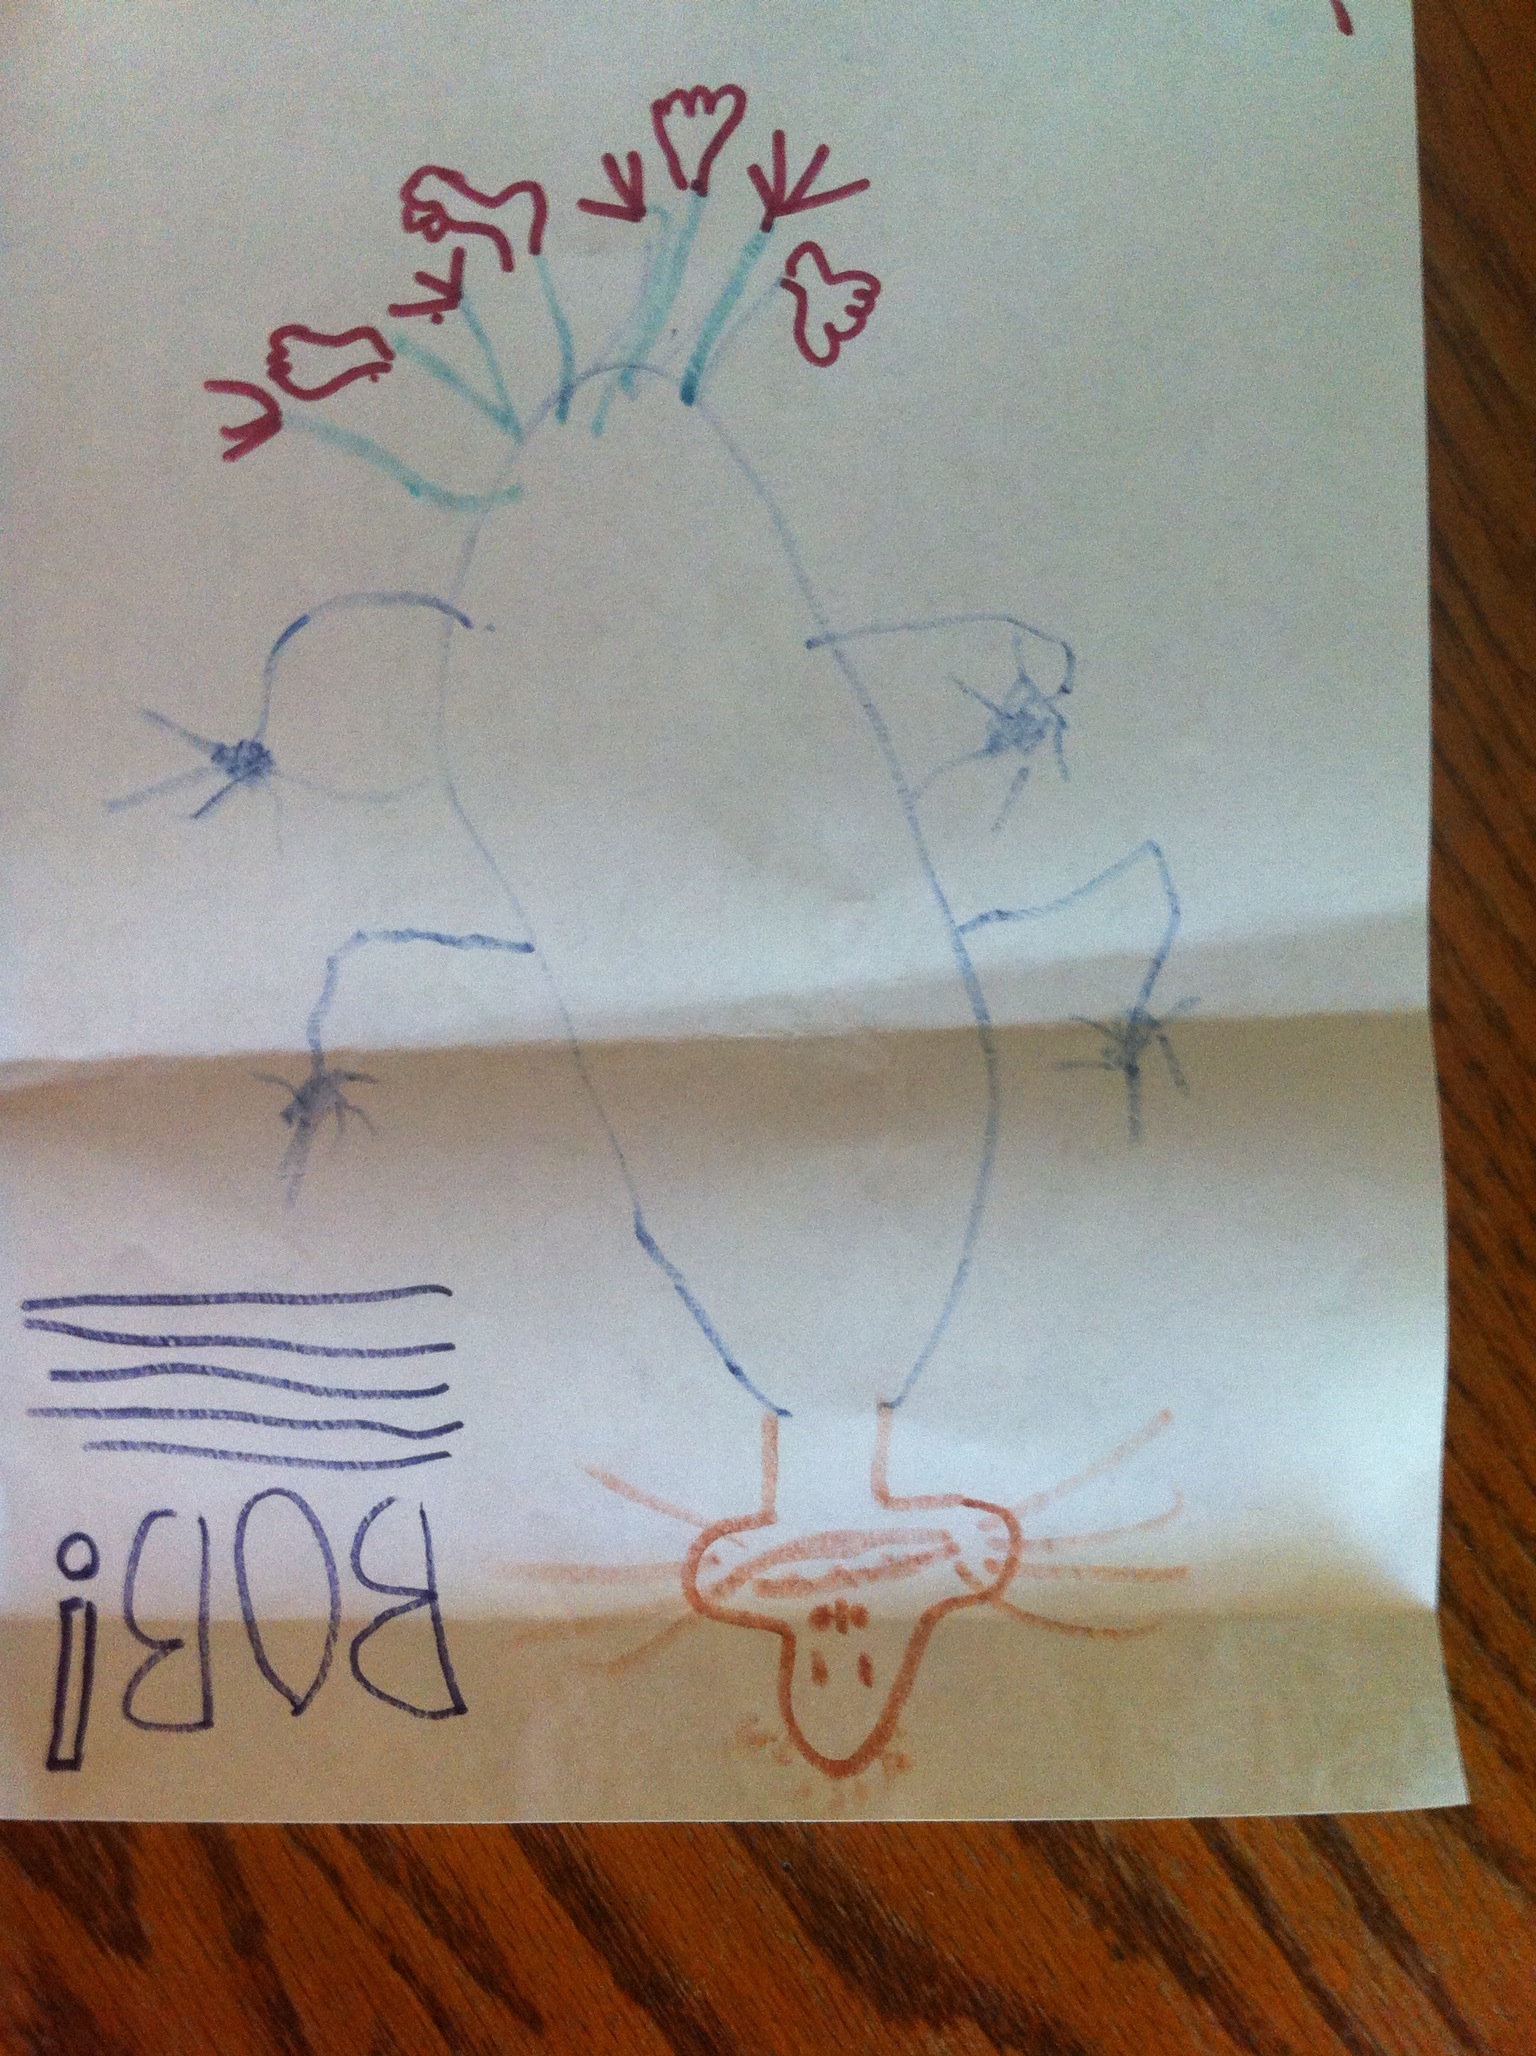
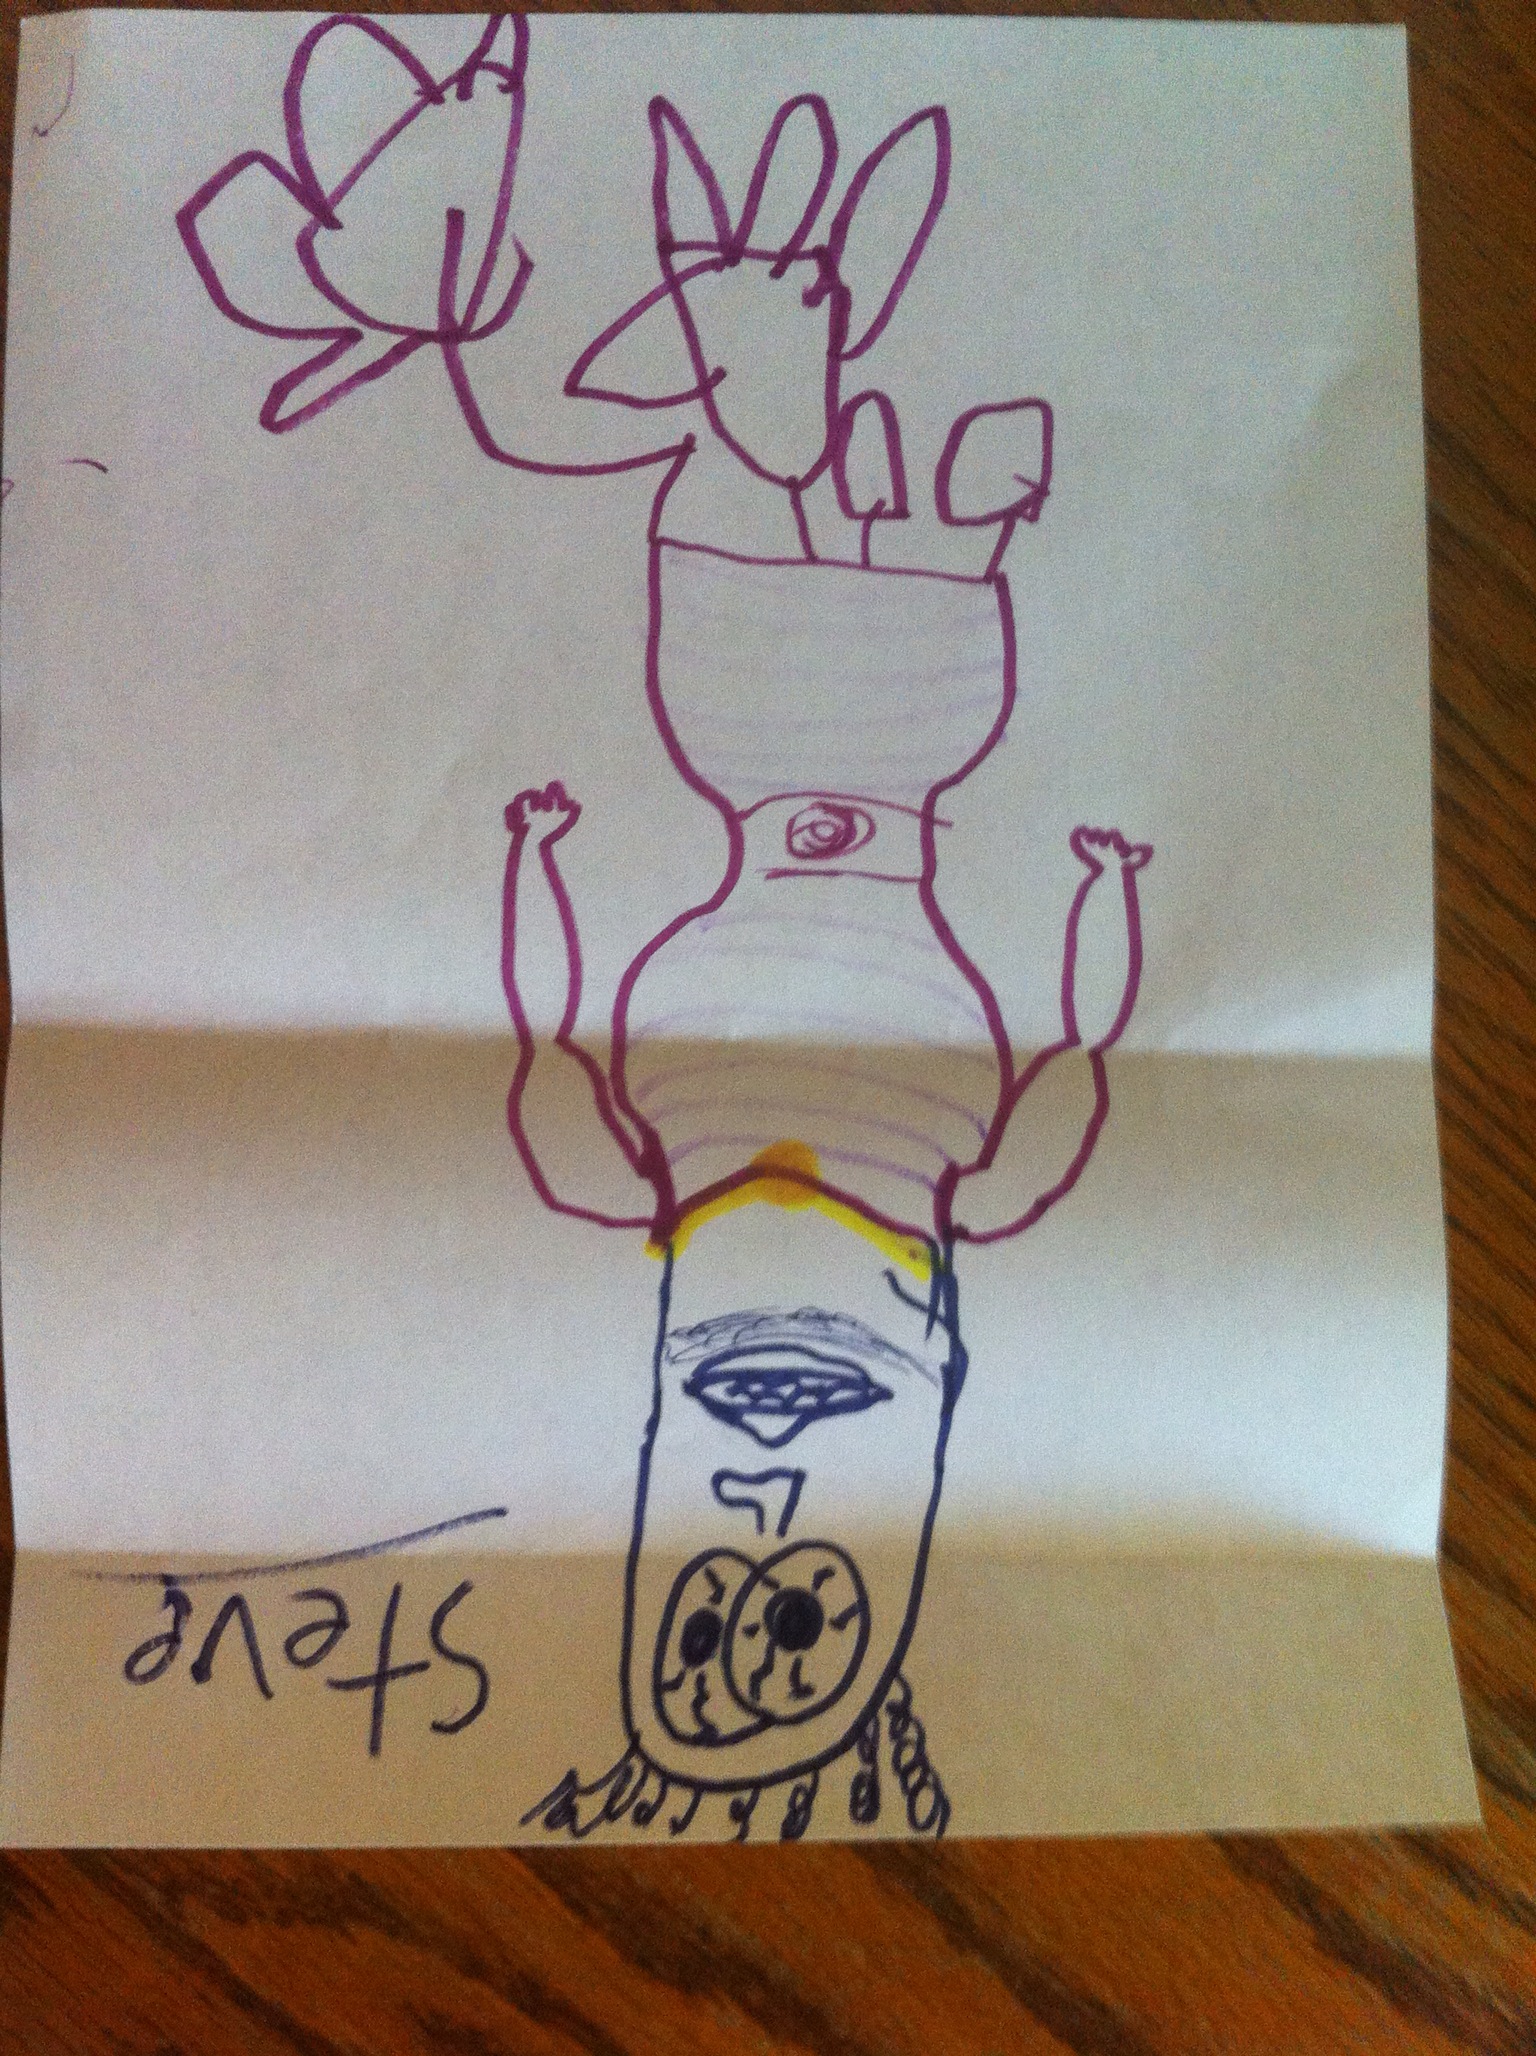
MATCH-UP BOOKS are always a hit. We also played a game when I was little where everyone would draw a head and fold the paper down so only the neck stuck out. The papers got passed around and everyone drew a body, and folded their paper down with two legs sticking out. Pass the paper, draw the feet, and pass again or not before you unfold your creations. Lots of quiet entertainment followed by truly funny pictures – marvelous!

http://tlc.howstuffworks.com/family/book-crafts4.htm

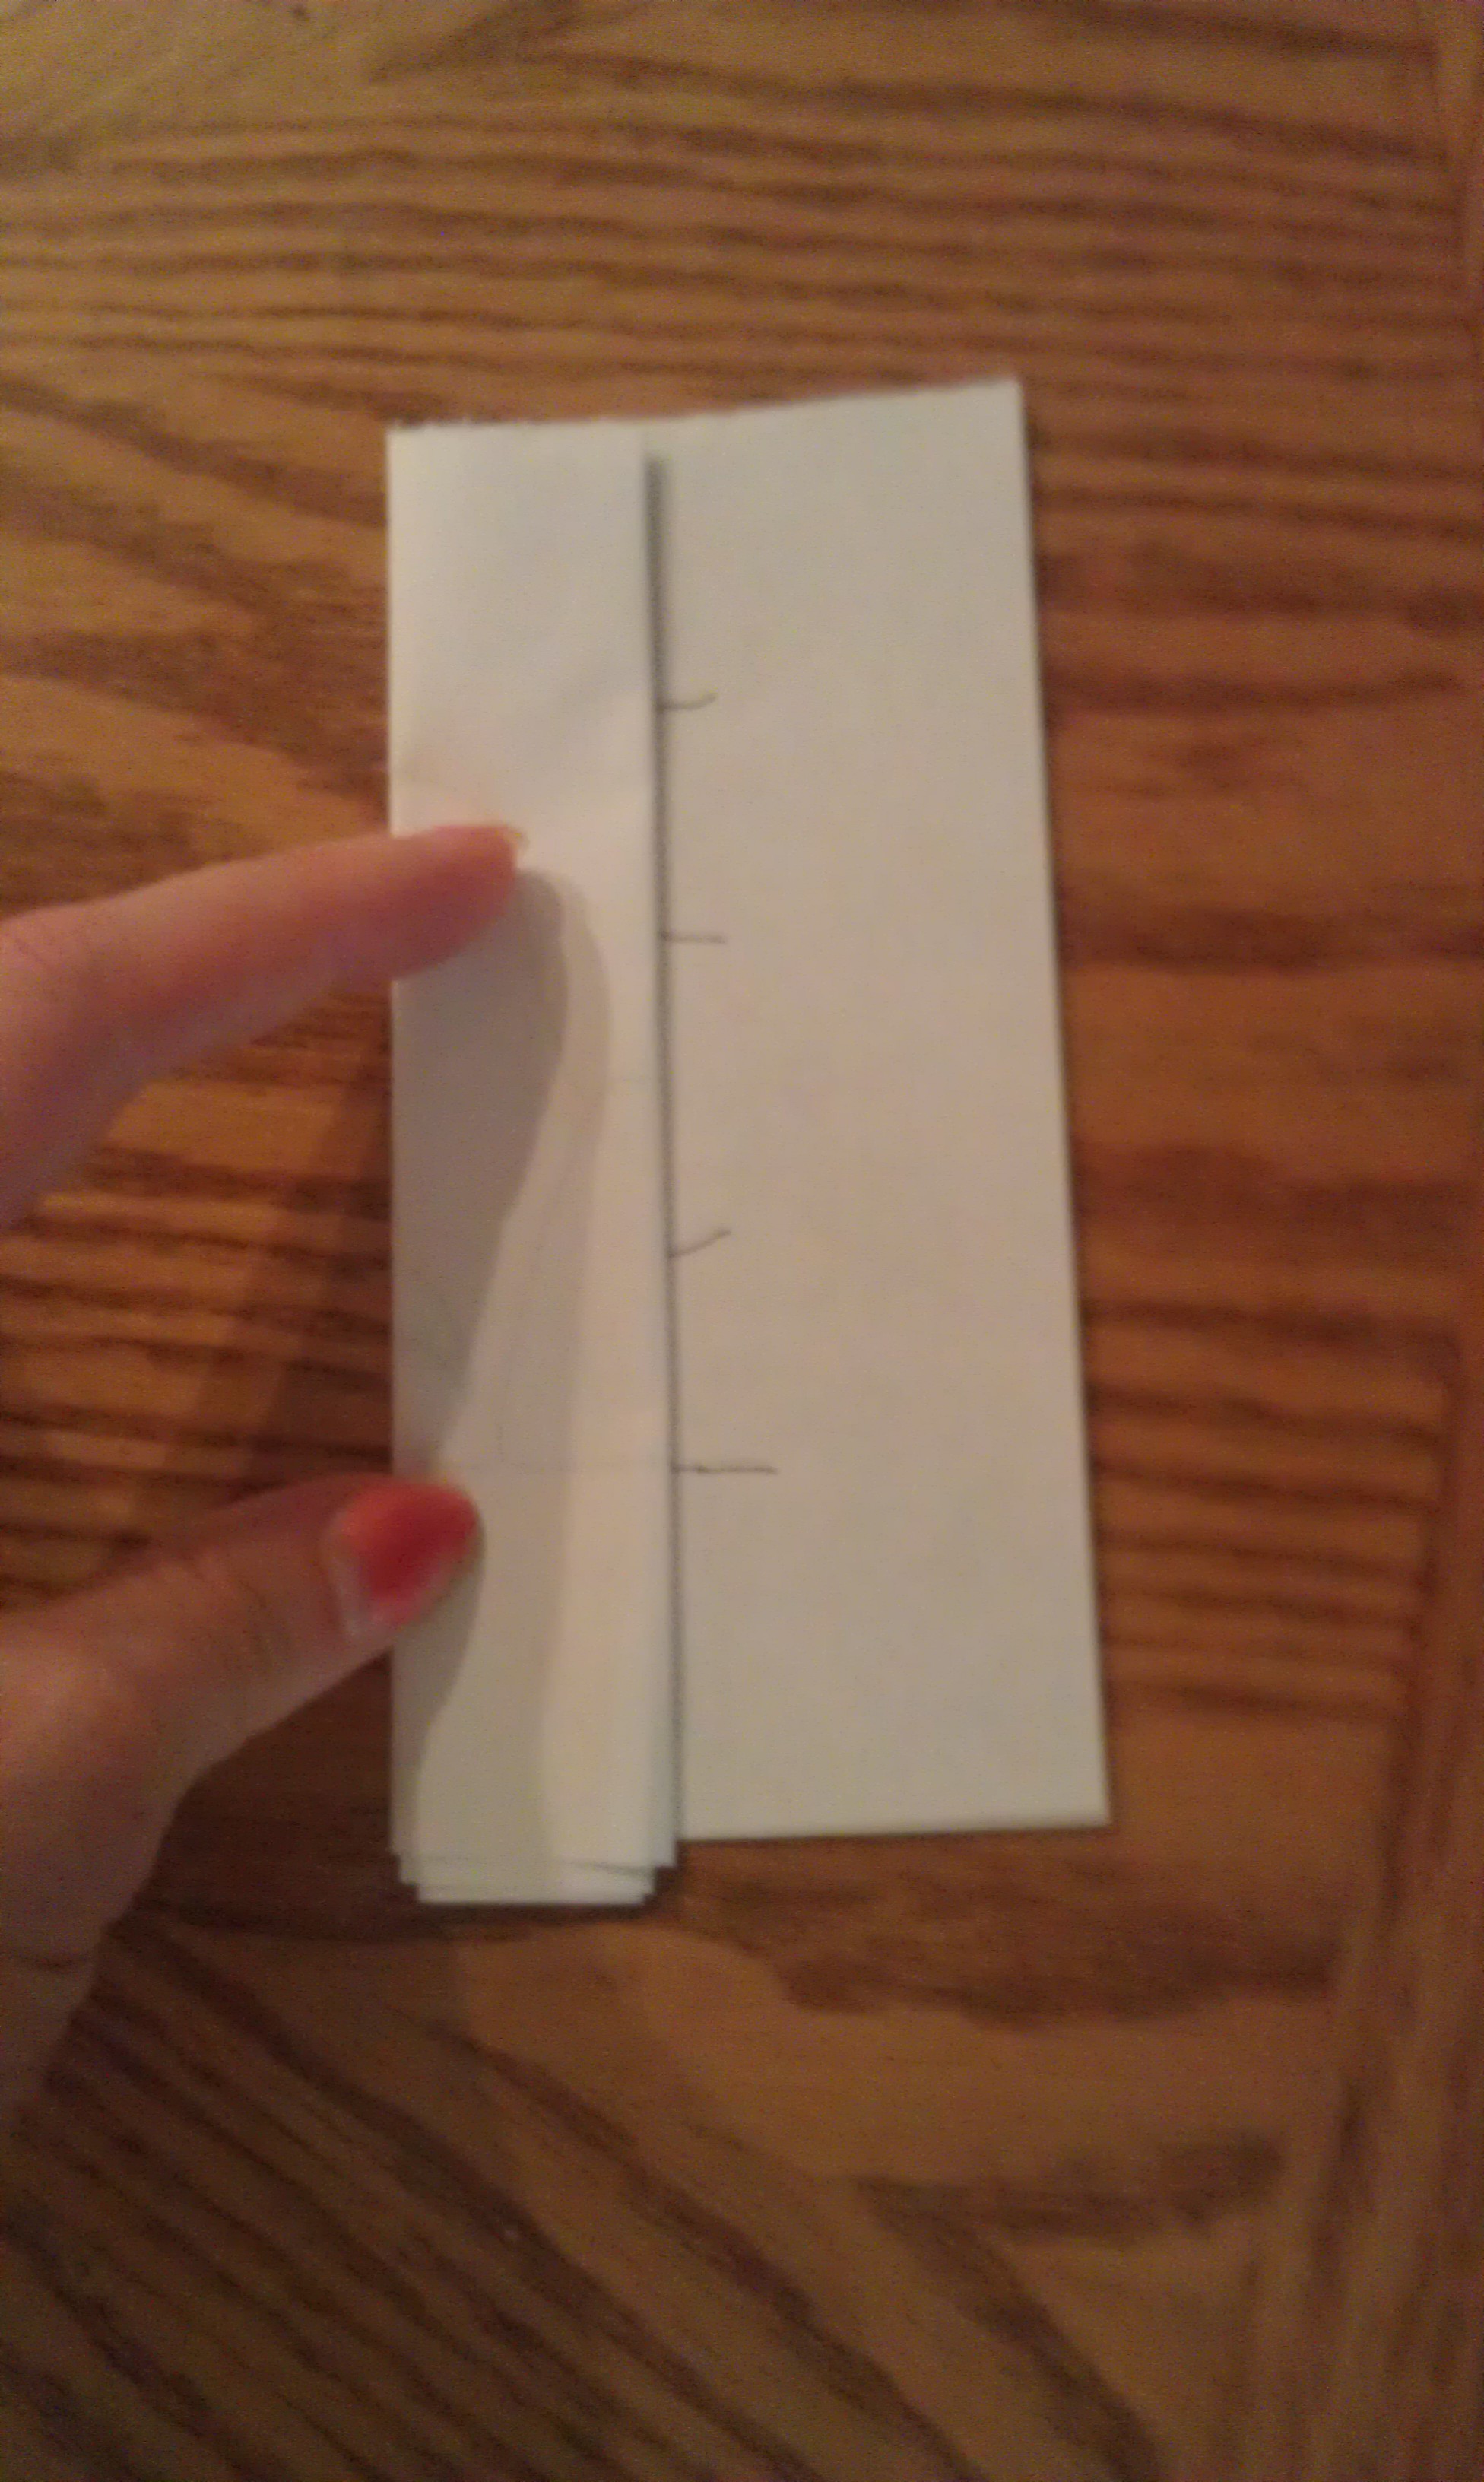
STITCHED BINDING for lacing practice. I’m not sure where this picture originated, but it looks brilliant. A hole punch and a ribbon gives you a bound book.

http://image.ssww.com/image/GP1300.main.jpg

BUTTON BOOKS – how cute are these!? Kids can draw anything, tell a story, color the dots different colors…and I’m sure create a million things I would never think of. Easy to carry in a purse too.

http://weheartit.com/entry/34650516#

SEWN NESTING BOOK … this one is outside my sphere, since I don’t own a sewing machine, but I still think it’s sweet. Maybe it really is as easy as it says? I’m also thinking of simply cutting it out with my nephew and combining it with the hole-punch binding above.

http://www.madeitonmonday.com/2011/05/kids-can-make-nesting-book.html

MAGNET BOOKLETS look like a great craft. They could have the single page shown or more, and they could be creative creations or lists. Many kids (and I use this term however loosely I need to so it includes me) love making things with magnets. A book and a magnet combined – it’s like a superhero/sidekick combo!

http://familyfun.go.com/crafts/magnetic-marker-668892/

WOODSY BOOKS are a little more rustic and manly. They’re also a great tool for talking about how paper is made from trees. and an excellent reason to go on a nature walk (the hunt for the perfect stick). Have fun out there 🙂

http://www.tipjunkie.com/holiday-crafts/fathersday/fathers-day-craft/rustic-book-for-dad-easy-crafts/

MEMORY BOOK – this craft as it is requires some coordination. It turns out really cute this way too, but I also love the different parts of it. The cookie-cutter stamps, the foam cover, and the pop-up front (with simple stickies) could all be used for other projects too.


http://www.multiplesandmore.com/crafting-with-kids/crafting-with-kids-spring-memory-books/

ART SCRAPBOOK … easy to make, and a great way to store that refrigerator art. My mother-in-law just showed me a book done by my husband and it’s very precious (*manly wince*). I highly recommend something along these lines. Captions to say who/what was drawn might help when they’re older too.

http://www.crayola.com/things-to-do/crafts-landing/recycle-scrap-book.aspx

LEGO FACE BOOKMARK – cool! Not a book, but useful and fun. Also, don’t let the name limit you. I personally love yoshi…I think I might need to go make a bookmark…

http://momitforward.com/corner-bookmarks-kids

FOLDED PAPER BOOK – Ok, first, this seems fun in and of itself. A book out of a single sheet of paper is already spectacular. Then, this incredibly creative blogger made them into photo scavenger hunts.

http://www.iammommahearmeroar.net/2011/04/photo-scavenger-hunt.html

 Good luck and let us know if you find a project variation we should try!


The Porcupine Prince and the Publishing Company

Today seems like a good day for a whimsical post. Here’s what I came up with – hope you enjoy!

His Story…
Once upon a time there was a porcupine prince, who had a dream of creating beautiful clothes for the whole world (or at least his corner of it). He had seen so many children who needed inspiring and thought “I can do that!” Just think – bead work, embroidery, cross-stitching… And the little porcupine began to sew…and sew…and sew…and sew… but no matter how much he plied needle to cloth, the stitching never seemed quite right and the color of the beads was just so-so. Then, one day when he ran low on beads, he took a quill from his own back and sewed it into the shirt. He sat back. It. Was. Perfect! Amazing! Today, he has completed the shirt, and we will see where the story leads, but my bet is to one naked little porcupine and a whole lot of happy children.

Our Story…
Once upon a time there was a publishing company, who had a dream of creating beautiful books for the whole world (or at least their corner of it). They had seen so many children who needed inspiring, and thought “We can do that!” Just think – big books, little books, tabbed books… And the authors began to write…and draw…and write…and draw… but no matter how much they plied pen to paper, the wording never seemed quite right and the color of the pictures was just so-so. Then, one day when they ran low on words, they took their own words and wove them into the story. They sat back. It. Was. Perfect! Amazing! Today, they have completed the story, and we will see where it leads, but my bet is to one simple publishing company and a whole lot of happy children.

Dragons From Your Food

We saw this little guy and got inspired:


Just Another Monday has a dragon + Apparently you can make dragons out of food = Let’s find all the ways you can play with your food and get a dragon!

You can, amazingly enough, make a dragon out of so many things in your kitchen – cupcakes, watermelon, bread, bento boxes, coffee/cocoa (what?!), a cucumber, cake, sushi…Here’s some inspiration and maybe someday we’ll post our own (and any of your) creations too:


Play with Your Food by Joost Elffers is also a great resource if you plan to truly master the art. Good luck!

Are Kids Digital, Analog, or Combination Readers?

What is your favorite way to read to your child or interest your child in reading? We’re really looking at picture-book aged children, but any and all opinions are welcome.

First, here’s the list I came up with and let me know if I’ve missed any. Maybe you read to your child via the WII (seriously, can you do that?), or just make stories up and write them down each night (if you do, I bow down before you)…Anyway, let’s start here:

  • Hardcopy books
  • Smart Phones
  • Tablets
  • Computers
  • E-readers
  • Active books (pop-ups, look ‘n feel, etc)

There are pros and cons to each, obviously, or there would be only one ðŸ˜‰

LCD screens might be hard on eyes, but there’s e-ink in the mix now for all you Nook and Kindle fans (sadly not in color yet). Hardcopy books are ripped and torn, but while spilled coffee might make them ugly, coffee on an e-reader could be a very sad day indeed. Computers are a bit hard on the eyes and sometimes do too much for the child (we still want them to imagine what it would be like if…), but there is a ton of content out there and interaction keeps children intrigued.

There seem to be 5 major things that we want in a children’s book format that we haven’t completely managed to pin down yet:

  • Durability
  • Interaction with all the senses
  • Imagination
  • As little strain on eyes as possible
  • Colors!

Maybe someone out there has already come up with a solution, but in the meantime, a mixed approach seems the most rounded. I tend to prefer hardcopy books for putting little ones to bed and a mix of phones, tablets, and hardcopies during the day. Having a child occupied by an interactive book in the backseat can indeed be a lifesaver.

What do you all think? Any opinions or ideas for future picture “book” formats?